How to Use Your Engagement Photos: 50 Creative Ideas
Your engagement session is done, and your gallery is full of beautiful images. Now what? It would be a shame to let those portraits sit forgotten on a hard drive. As a professional photographer, I see engagement photos as the visual foundation of your entire wedding story: versatile, personal, and full of potential well beyond Instagram.
This guide walks you through 50 creative ways to use your engagement photos, from the first save-the-date all the way to your first anniversary. Each chapter includes practical photographer’s advice so you get the best results, whether you’re printing, displaying, or gifting.
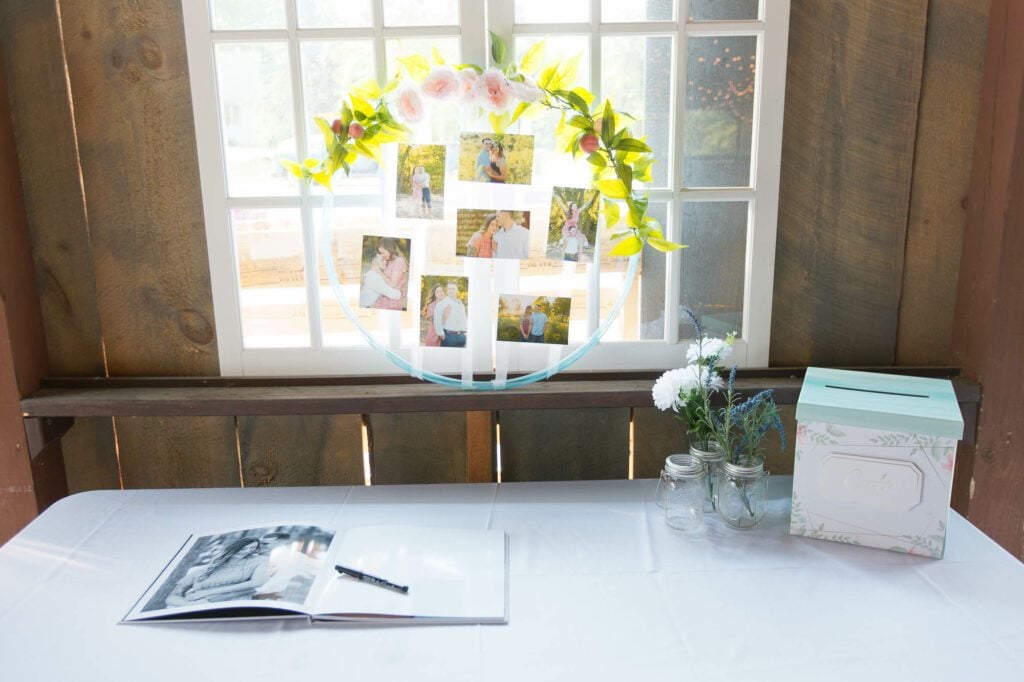
Table of Contents
Chapter 1: Before the Big Day (Stationery & Digital)
Photographer’s Perspective: For any printed stationery, always request the “Full Resolution” files from your photographer. Web-sized images optimized for social media will look blurry or pixelated when printed on quality cardstock. For invitations and save-the-dates, look for photos with “negative space” (areas like an open sky or a softly blurred field) where your wedding date can sit cleanly without covering your faces.
1. Save-the-Dates
The most popular first use for engagement photos. It sets the visual tone for everything that follows and gives guests a warm preview of your style as a couple. Pro-Tip: Keep it simple: one or two images maximum (three if you’re using both sides of the card). Too many photos on a small format turns a beautiful card into a cluttered collage.
2. Official Invitations
Use a more formal portrait to elevate your invitation suite. A clean composition with neutral backgrounds pairs well with most invitation designs. Pro-Tip: Push the contrast slightly before sending the file to print. Invitation printing (especially on textured cardstock) tends to soften images and flatten blacks; a little extra contrast ensures the photo looks crisp and intentional rather than muddy.
3. Custom Photo Stamps
Several online services let you print personalized postage stamps. Pro-Tip: Use a tight close-up crop of your faces. Stamps are tiny; a wide landscape shot will reduce you to two unrecognizable dots once printed.
4. Wedding Website (Zola, TheKnot, WeddingWire)
Most couples use a wedding website to centralize all the information, countdown, and logistics. Pro-Tip: Use landscape (horizontal) images for your header banners; portrait-oriented photos often get awkwardly cropped on mobile screens, cutting off heads. Also, compress your images to under 1 MB before uploading; oversized files slow the site significantly on mobile. Don’t forget to credit your photographer on the gallery page.
5. Holiday Cards
Don’t wait for the wedding to showcase your photos. Holiday cards are a natural fit, especially if your engagement session takes place a year or more before the big day. Works perfectly for a “New Year, New Name” announcement after the wedding too. Pro-Tip: Tell your photographer before the session if you’re planning to use the photos for holiday cards. A good photographer will come with seasonal ideas; think a cozy sweater session in autumn colors, or a fun Christmas pullover if you’re shooting in winter. A little advance planning makes the card feel truly intentional.
6. Home Gallery Wall
We always encourage couples to print their photos rather than leaving them on a screen. Pro-Tip: Don’t limit yourself to paper prints. Metal prints or acrylic blocks give engagement photos a modern, vibrant look; they last 100+ years without fading and are far superior for a home display that will be seen every day. Check our article to understand all the different print types (from canvas to plexiglass) and find the right format for your home.
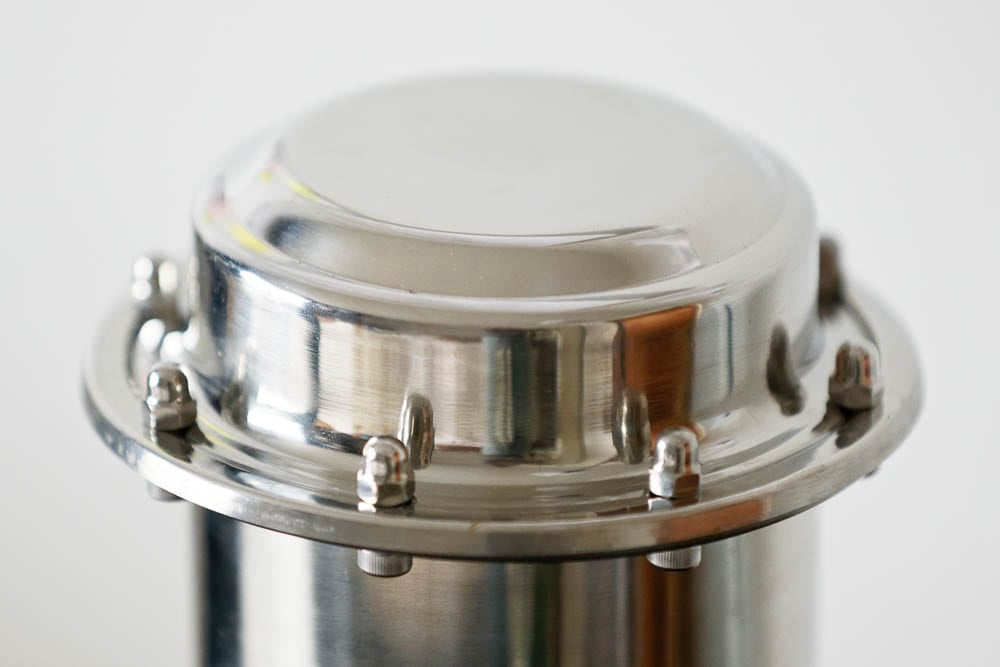
7. Time Capsule
Photos are snapshots of you at a specific moment in time. Think about the future, and put 30 photos of you in a time capsule box. Bury it in your garden and open it for your 10-year anniversary! Or better yet, let your kids find it!
TIP: You can use a simple glass jar, plumbing material such as a PVC tube, or buy a nice capsule on Amazon.
8. Engagement Party Decor
A great low-cost way to personalize any venue. Pro-Tips: String 4×6 prints across the room on twine using tiny wood clothespins (the mini kind work perfectly and look charming). You can also place prints in small inexpensive frames; IKEA frames are ideal for this since they come in uniform sizes, stack easily for transport, and look clean and intentional without breaking the budget.
9. Custom Puzzle Save-the-Date
Send a small puzzle that guests assemble to reveal your wedding date and a photo. Kids at the wedding will especially love it. Pro-Tip: Choose a photo with high contrast and distinct color zones; an all-blue sky or a uniformly dark background will make the puzzle nearly impossible to assemble. Better yet: create a different puzzle for each table using a different photo from your session. It becomes a fun mini-game during cocktail hour and gives every table something unique to discover.
10. Digital Social Media Countdown
Use an animated clip or short reel for your countdown posts. Update your profile photos on Facebook and Instagram as soon as the gallery is released; always credit your photographer in the caption.
More ideas for this chapter:
- 11. Rehearsal Dinner Invites
- 12. “Will You Be My Bridesmaid?” Cards
- 13. Wedding Planning Binder Cover
- 14. Digital Text Save-the-Dates
- 15. Vendor Sharing. If you had a hair and makeup trial before your session, send your favorites to your artists. They genuinely love seeing their work in professional photos; it also helps build the relationship before your wedding day.
Chapter 2: Personalizing the Wedding Ceremony
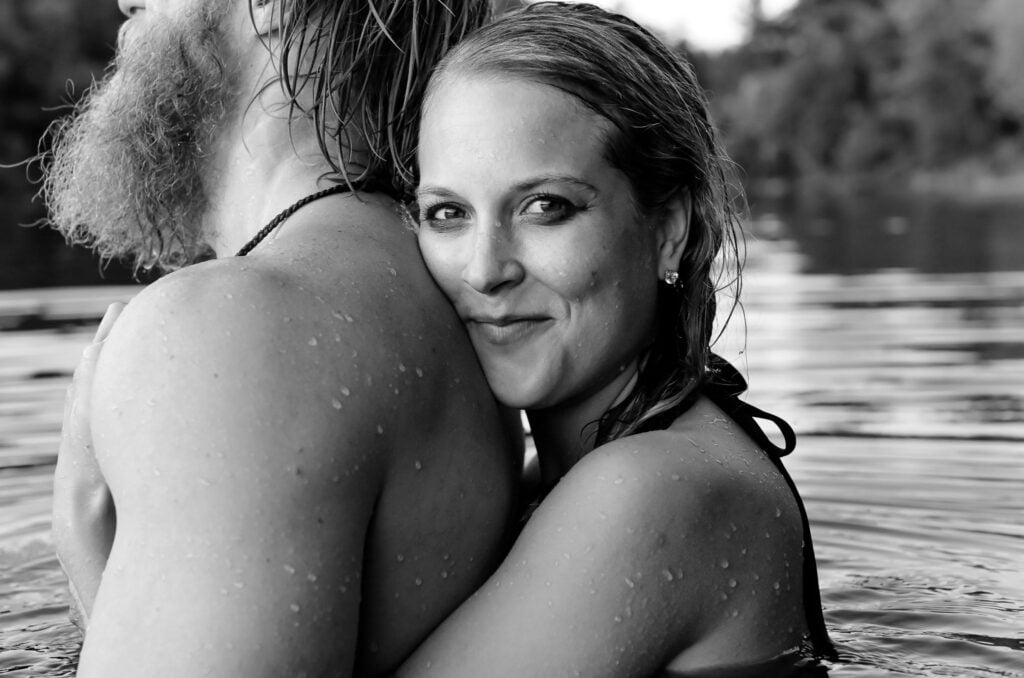
Photographer’s Perspective: Ceremony items are often kept as family heirlooms. For anything used during the ceremony itself, I recommend choosing candid or quiet shots; images where you are looking at each other rather than the camera. These intimate moments fit the emotional tone of the ceremony far better than a traditional posed portrait.
16. Custom Guest Book Album
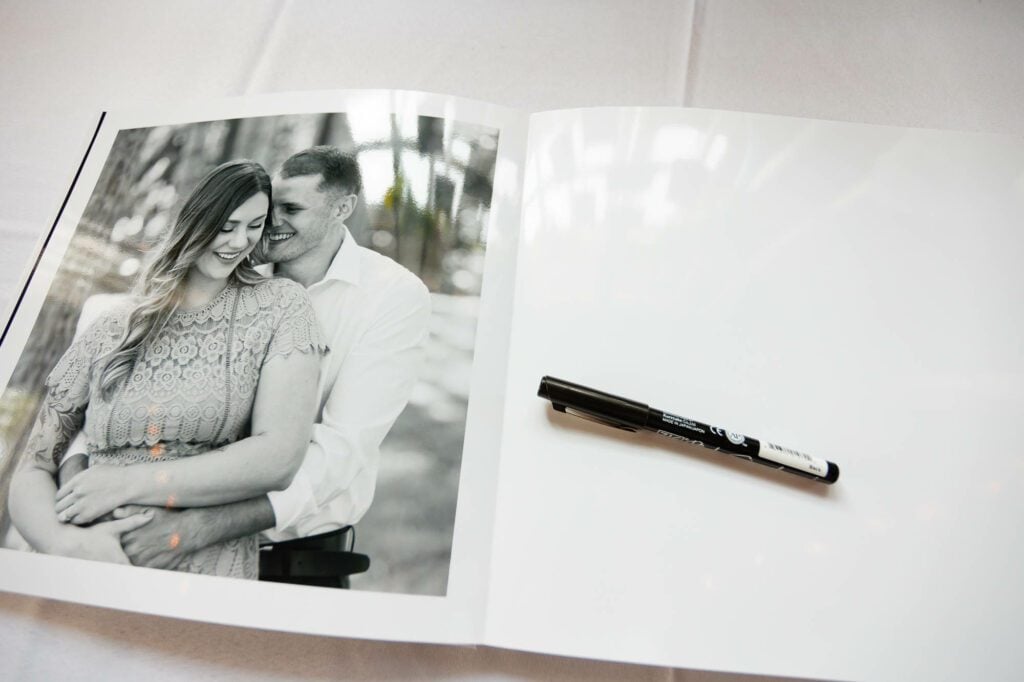
The guest book album features a special layout that blends photos with signing areas. We love this idea so much that we include it in several of our packages. You can learn more about it here.
Pro-Tip: Not every page needs a white signing zone. Alternate between full-bleed photo pages and signing pages for a much more elegant result; it also looks better as a keepsake once all the signatures are in. Adjust the number of signing pages to match your guest count: 80 guests need very different spacing than 200. For the pens, use an acid-free Sharpie Photo pen rather than a standard marker; it dries fast on photo paper, preventing smudging when the book is closed, and the ink won’t fade over time.
Although it’s not a wedding album, if you take good care of it, it will last for decades.
17. Ceremony Programs
Feature a small photo on the back cover as a “thank you” to your guests. A candid, laughing shot works beautifully here.
Pro-Tip: Always request a test print before ordering the full run. Programs are often printed on cheap office copiers or basic laser printers; the text may be fine, but images frequently come out darker or slightly off-color compared to what you see on screen. A single test copy costs almost nothing and saves you from 150 programs where your faces look muddy.
18. Vow Book Covers
For an elegant cover, yo can print a photos, or create a drawing with golden gilding.
Pro-Tip: Use a profile shot of the two of you. Since you’ll be holding these books during the ceremony, a side-profile image mirrors the way you’ll actually be standing at the altar; it’s a lovely detail that photographs well too.
19. Reserved Seating Signs
Use a small photo of the two of you to mark the front rows reserved for family. A more personal touch than a generic “Reserved” card.
20. Custom Aisle Runner
Some couples print a custom vinyl runner featuring a silhouette from their session. Best suited for larger venues where the runner will be clearly visible.
Choose a silhouette photo with a clear sky behind you, and increase the contrast. It will create a vectorial style effect image easy to print.
21. Folding Fans
For outdoor summer weddings, print the ceremony program on one side and a bright golden hour photo on the other. Pro-Tip: When preparing the file for printing, brighten the photo by roughly 15%; non-glossy cardstock absorbs light and will make images appear noticeably darker than on screen.
22. Ring Box Insert
Place a small printed photo inside the ring box for a quiet sentimental detail. One of those touches guests never see, but that makes the moment feel more personal.
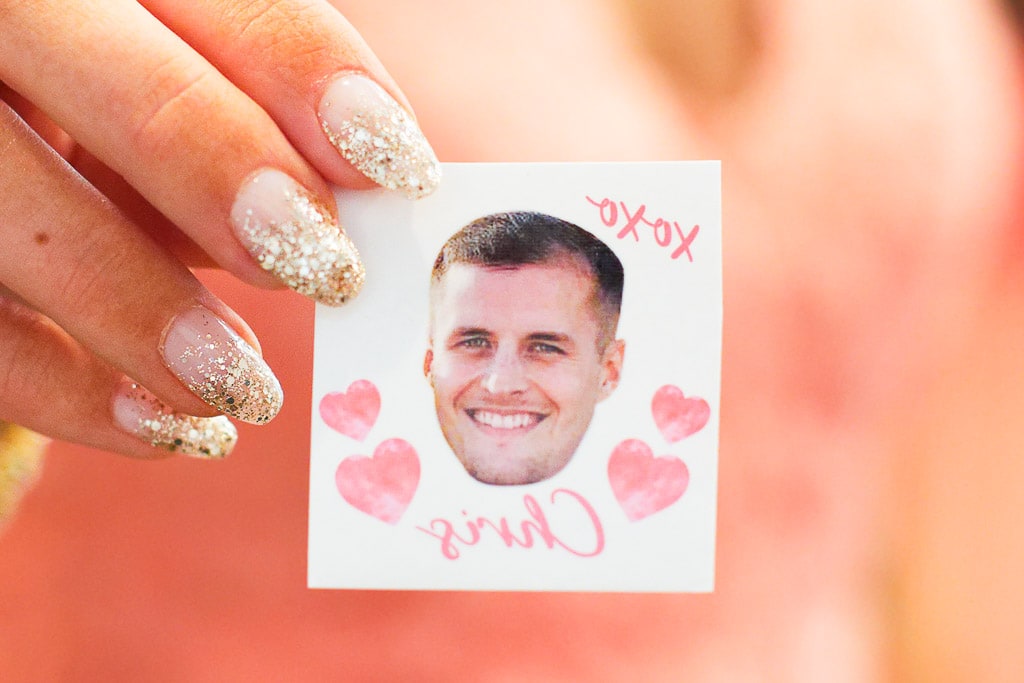
23. Temporary Tattoo
If all the bridesmaids like the groom, a funny thing I have seen is the face of the groom tattooed on all bridesmaid.
But that could be a tattoo of both of your face as well.
Tip: select only the heads and remove the background
More ideas for this chapter:
- 24. Wedding Timeline Display. Apply a semi-transparent white layer on the photo to use it as a background of your timeline.
- 25. Custom Countdown Calendar. Pretty cool gift for each other.
- 26. Directional Signage. Just select a nice portrait shot of both of you.
- 27. Groom’s Room Decor. Print a photo of the Bride in Big, so he reminder to who he belongs :D.
- 28. Flower Girl Basket. Attach a small photo charm to the basket handle. A sweet detail for the photos and something the flower girl can keep afterward.
Chapter 3: Reception Decor & Guest Experience

Photographer’s Perspective: Receptions are joyful and high-energy. This is the place for your fun photos; the ones where you’re laughing, dancing, or caught in a candid moment. To avoid a “branded” feel, consider mixing your professional engagement shots with candid iPhone photos from your dating years for a Memory Lane effect that feels warm and personal rather than promotional.
24. The Welcome Easel
Pro-Tip: Go big: at least 24×36 inches (60×90 cm). A small 4×6 print on an easel is almost invisible at venue scale. Choose a centered composition so that even if guests are partially in front of it, your faces remain the clear focal point. For the print itself: if this is purely for the wedding day with no plans to keep it afterward, a budget-friendly online print service works fine. If you want to hang it at home afterward, invest in a quality inkjet print on fine art paper; the difference in longevity and color accuracy is significant.
25. Table Numbers with Different Photos
Use a different engagement photo for each table number. Pro-Tip: This acts as a natural icebreaker; guests circulate around the room trying to find “their” table photo and end up discovering all the others. It turns table numbers into a conversation piece.
26. Reception Slideshow
Create a loop to play during cocktail hour or the reception. Pro-Tip: Keep it under 3 minutes; beyond that, even the most loving guests lose attention. Limit yourself to 20–25 images maximum and prioritize photos with strong contrast and varied backgrounds; these hold attention better on a large screen than a series of similarly lit shots. Export in 16:9 ratio to match venue displays. Most importantly: always confirm the format and screen resolution with your DJ or AV team in advance. They may have specific requirements, and they can advise on the best setup for the room.
27. Interactive Sign-in Board
Print a large photo on wood or foam core with a wide white border for guest signatures. A more personal alternative to a traditional guestbook.
28. Signature Cocktail Signs
Use individual portraits of the bride and groom to mark “His” and “Hers” signature drinks at the bar. A fun, easy detail that guests always notice.
29. Custom Coasters or Napkins
Pro-Tip: Use high-contrast black-and-white photos or line art conversions for napkins and coasters. Subtle color gradients get washed out on absorbent materials; a high-contrast image holds its visual impact much better.
30. Photo Booth Welcome Screen
Ask your photo booth vendor to use one of your engagement portraits as the “Tap to Start” background screen. You can also have your photo included in the printed layout that comes out at each session.
31. Cake Toppers & Dessert Bar Decor
Pro-Tip: For the dessert table, try printing on vellum and wrapping the prints around glass lanterns or candle holders. Vellum is translucent, so the candlelight glows through the photo; it creates a beautiful, warm effect that standard paper simply cannot replicate.
32. DIY Wood Photo Transfer (Mod Podge)
One of the most rewarding DIY decoration projects: transferring a photo onto a wood block using Mod Podge Photo Transfer medium. The result is a beautiful, tactile object that works as a centerpiece, a gift, or a lasting piece of home decor. It’s fun to make, and it feels genuinely handmade in the best way.
Pro-Tips for a great result: Choose your wood carefully; avoid cheap pine boards with visible grain knots. A smooth hardwood or a properly sanded birch panel gives a much cleaner transfer. You can stain or tint the wood beforehand for added warmth. Sand the surface with fine-grit paper (220 or higher) before applying the medium. For the photo itself: avoid images that are very light/washed out or very dark/underexposed; mid-tone photos with good contrast transfer most cleanly. The transfer process slightly softens the image, so start with the sharpest, best-exposed photo you have.
More ideas for this chapter:
- 33. Custom Wine Labels
- 34. Chocolate Wrapper Favors
- 35. Photo Confetti
- 36. “About the Couple” Trivia Cards
- 37. Instagram Hashtag Sign
- 38. Seating Chart Header
- 39. Personalized Menu Cards
- 40. Photo Scavenger Hunt Cards
- 41. Decorative Photo String Display
- 42. Memory Lane Walkway
Chapter 4: A Note on Print Quality & Resolution
Photographer’s Perspective: This is the question I get most often, and it matters. Here is the practical guide:
For standard prints viewed up close (framed portraits, guest book, table numbers), you want a minimum of 300 DPI at the final print size. For a 5×7 print, that means an image at least 1500×2100 pixels. Your photographer’s full-resolution files will easily cover this.
For large-format prints viewed from a distance (welcome easel, banners, vinyl runners), the required resolution drops significantly because viewers are never standing inches away. A 150 DPI file is typically sufficient for a 24×36 poster. The key rule: the larger the print, the further away people stand, and the lower the DPI you actually need.
Choosing the right print type: If a print is purely for the wedding day (a banner, a vinyl runner, foam core signs), an affordable online print service like Canva Print, Costco Photo, or Nations Photo Lab delivers perfectly acceptable quality for the price. If you plan to display it at home afterward (a framed portrait, an easel print, a canvas), invest in a quality fine-art inkjet print. The difference in color accuracy, shadow detail, and longevity is significant and very visible on your wall every day.
Chapter 5: Your Family Legacy & After the Wedding
While the wedding day lasts 24 hours, these images become the foundation of your family’s visual history. Engagement photos capture a unique in-between season: the excitement of being engaged, before the responsibilities of marriage begin. Years from now, your children and grandchildren won’t just want to see you in wedding finery; they’ll want to see how you looked, dressed, and loved each other in your everyday life.
43. Parent Gifts (Framed Prints)
Parents tend to prefer classic portraits where you look directly at the camera. Pro-Tip: Use Fine Art Rag paper for these prints; it has a museum-quality texture that makes a photograph look almost like a painting. It’s a meaningful upgrade for a gift that will likely hang on a wall for decades.
44. First Anniversary Album
The traditional first anniversary gift is paper; the perfect reason to finally print a professional engagement book. Use your engagement photos to create a meaningful keepsake that pairs beautifully with your wedding album. You can learn more about album options and pricing here.
45. Christmas Ornaments
Turn a favorite photo into a custom ornament for the tree. Metal or ceramic ornaments hold photo quality far better than plastic over years of annual use; worth the small extra cost for something you’ll pull out every holiday season.
46. Custom Playing Cards
Print a deck of cards featuring your engagement photos. Pro-Tip: These are especially popular as favors for destination weddings; use a photo that captures the vibe and location of the session. (Another great reason to ask for some fun, playful shots during your session!)
47. Photo Blanket
Create a cozy blanket with your photos printed on it. A genuinely used keepsake, rather than something that sits in a drawer.
48. Thank-You Video Montage
Create a short video mixing engagement and wedding photos to send as a thank-you to guests. Easy to build today with any slideshow app, and far more personal than a standard card.
49. Custom Luggage Tags
Use a photo for your honeymoon suitcases. Practical and easy to spot on a baggage carousel.
50. Legacy Keepsake Box
Print a favorite photo on the lid of the box where you store your wedding cards, vows, and mementos. Every time you open it, you’ll see yourselves as you were on the day it all began.
Related Questions
Should you use engagement photos for your thank-you cards?
If you already used engagement photos on your save-the-dates and invitations, it’s usually nicer to switch to your wedding day images for the thank-you cards. Your guests will appreciate seeing the “final chapter” of the story.
Do you include engagement photos in wedding albums?
The wedding album is a high-quality heirloom we design in our studio; it’s the foundation of your family’s visual story. You can find out more about wedding album pricing here.
For engagement photos specifically, we recommend the guest book album format; it’s more affordable, and it serves a distinct purpose. Select images with great light and natural-looking poses, and we’ll create the perfect keepsake from those.
Should you use the same photographer for both sessions?
Yes. One of the main purposes of an engagement session is comfort; being in front of a camera doesn’t come naturally to most people. When you’ve already worked with your photographer once, you arrive on your wedding day relaxed, confident, and ready. A good photographer will also use that first session to guide you on clothing choices, color palettes, and posing that suits you as a couple.
When should you share your engagement photos?
Most of our clients share their gallery right after it’s released; typically six months to a year before the wedding. That window gives you plenty of time to use them for stationery, your website, and all the other ideas in this guide.
How many engagement photos do you need?
There is no fixed number, but most couples receive between 50 and 100 edited images from a standard session. That might sound like a lot, but once you start using them across save-the-dates, your wedding website, table numbers, the guest book, and everything else in this guide, you’ll be glad to have variety. The key is not quantity but range: a mix of close-up portraits, wider environmental shots, and a few candid laughing moments gives you the flexibility to use the right image for each purpose.
What should you wear for engagement photos?
Clothing makes a bigger difference than most couples expect. The colors, fit, and style you choose directly affect how timeless (or dated) your photos will look in ten years. We have a dedicated article that covers everything: color palettes that photograph well, what to avoid, how to coordinate without matching, and seasonal ideas. [link to article]
How long after the session do you receive your photos?
You will receive your fully edited gallery within one week of your session. Engagement sessions are also a great opportunity to get a feel for the process before your wedding day: how we work together, how you move in front of the camera, and what locations and light suit you best. Think of it as a creative test run that also gives you 50 to 100 beautiful images to use right away.
Conclusion: Use Your Photos, But Keep It Classy

There are genuinely endless ways to use your engagement photos: before, during, and long after your wedding day. But a word of caution: don’t overdo it. Having your face on every napkin, coaster, water bottle, and cake starts to feel more like a marketing campaign than a celebration of love.
Our advice? Pick four or five ideas that feel meaningful to you. A beautiful welcome sign, a slideshow during cocktail hour, a heartfelt guest book, and a framed print for the parents; that’s already a complete, elegant picture. Quality over quantity will always read as more sophisticated.
The goal is to share your love story with your guests, not to brand your wedding. Choose what brings you joy, and let your photos enhance the day without overwhelming it.