Wedding Album Layout Examples
As wedding photographers, we follow the bride and groom during their entire day to capture the best moments. We pay attention to details, we shoot candid shots, we stage some group pictures, we direct the couple during their photo session. We are photojournalists during the ceremony, and artists during the night when we shoot unique creative shots.
Finally, comes the time to design their wedding album: it’s then that we become storytellers!
So let’s show you here some examples of the presentation format that we provide, how we built them, and how to consider making the best wedding album ever.
Table of Contents
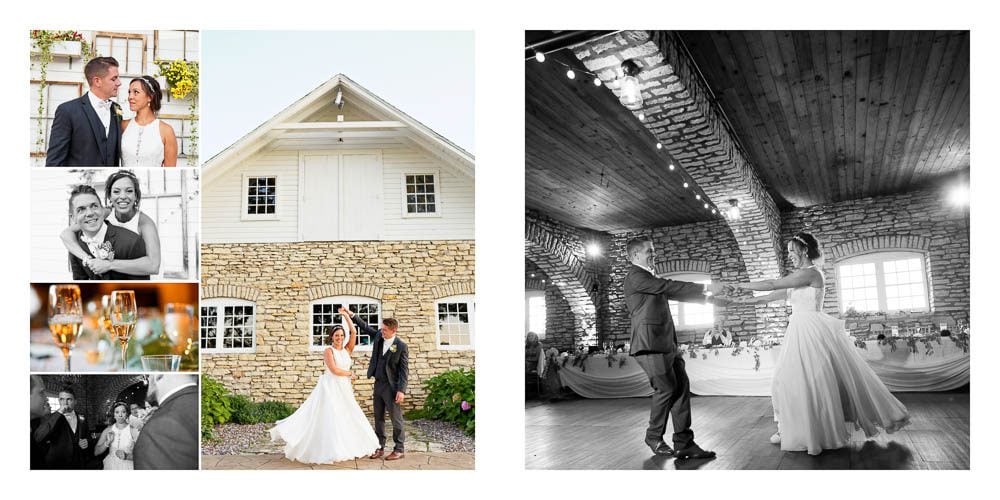
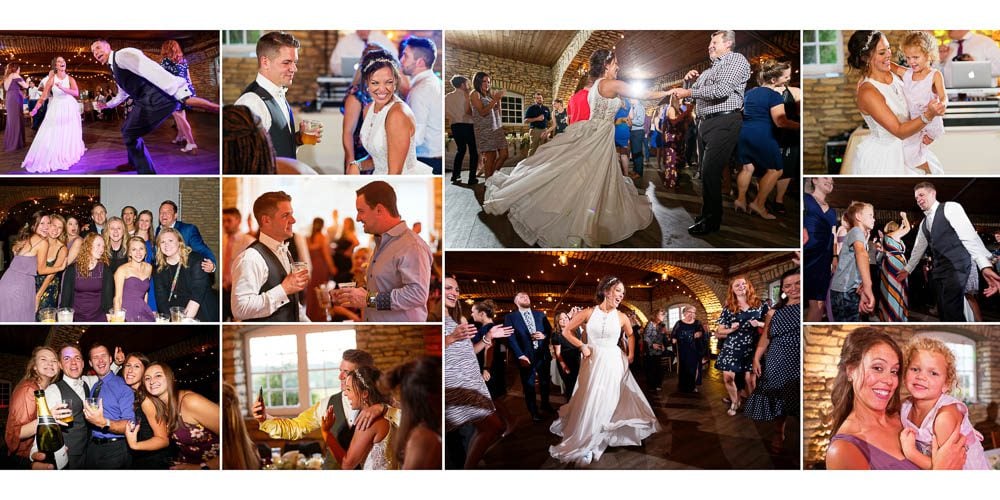
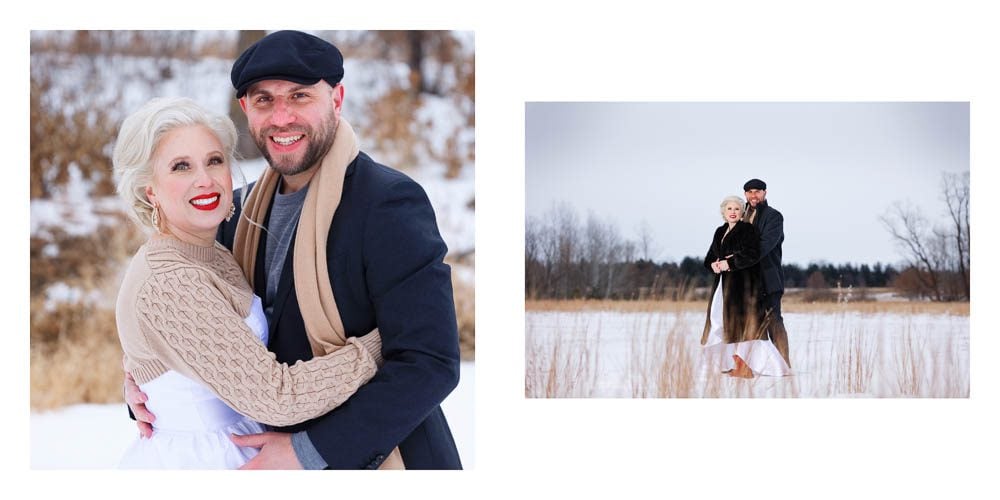
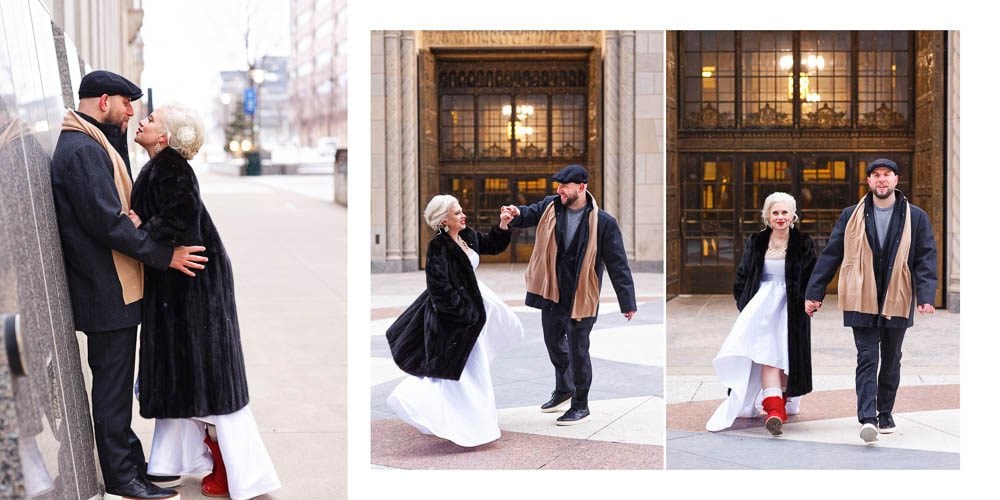
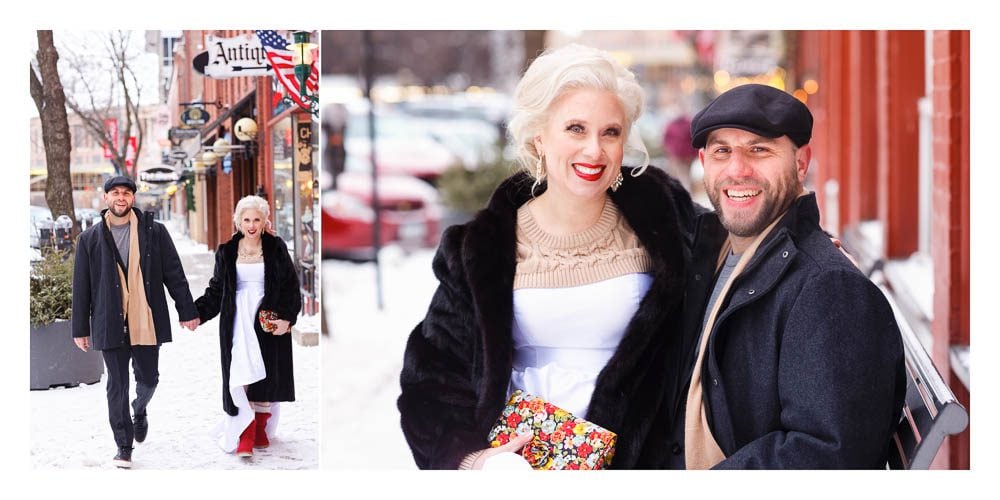
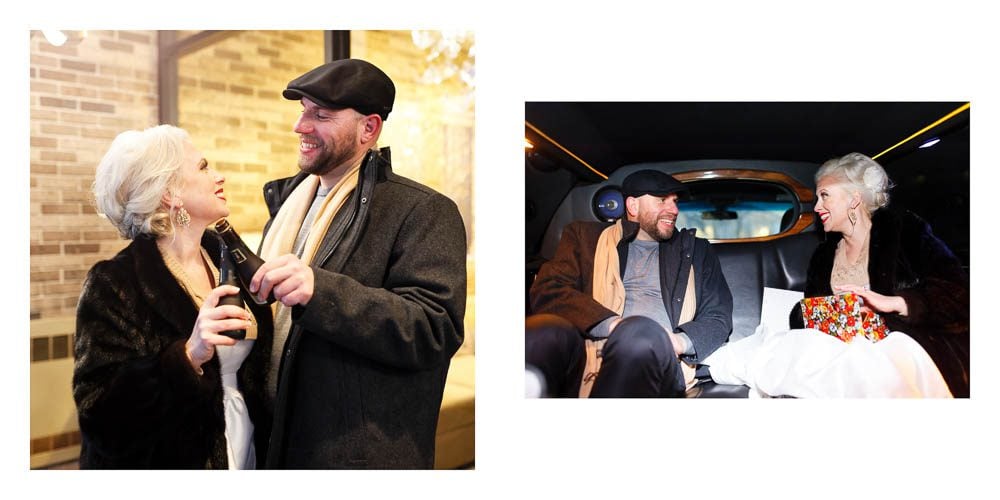
Layout Examples for Wedding Album
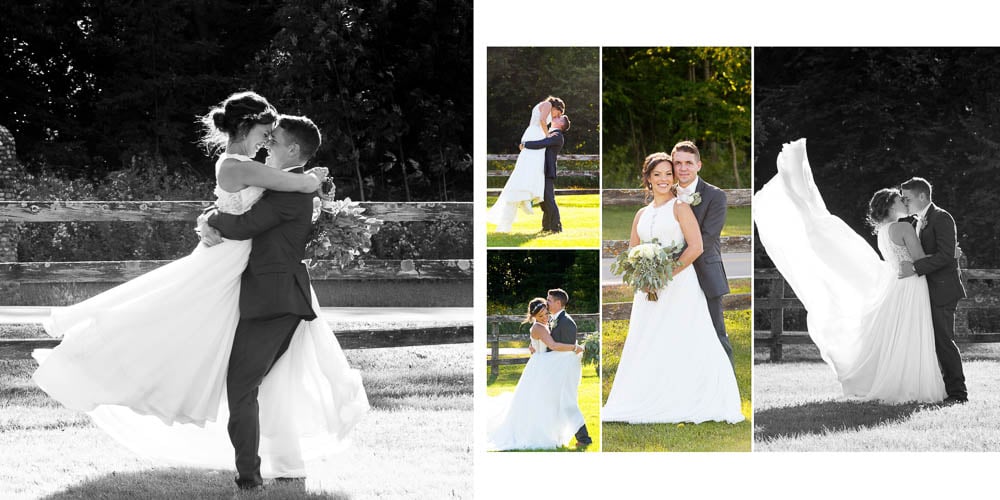
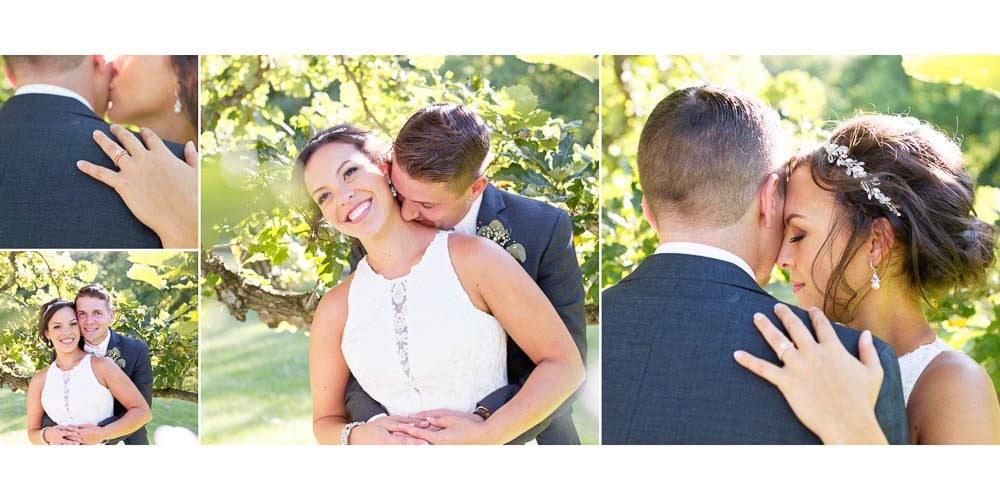
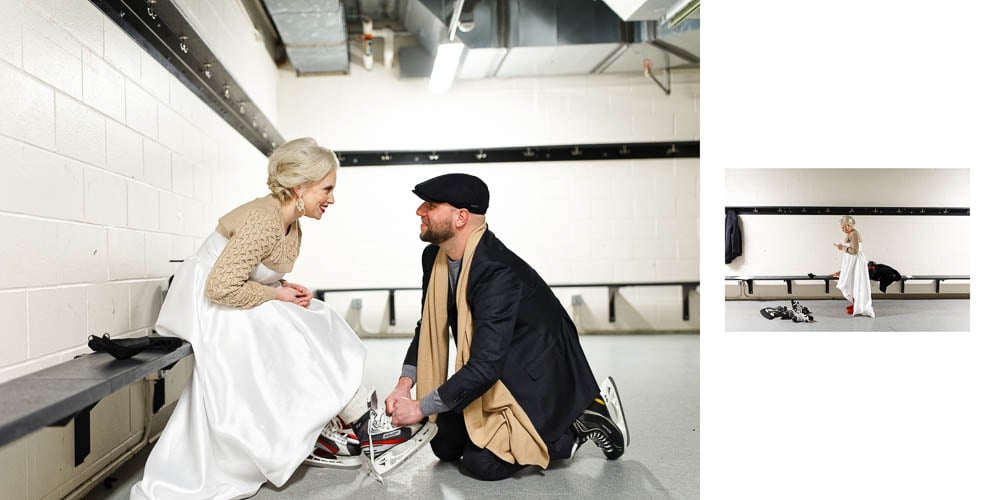
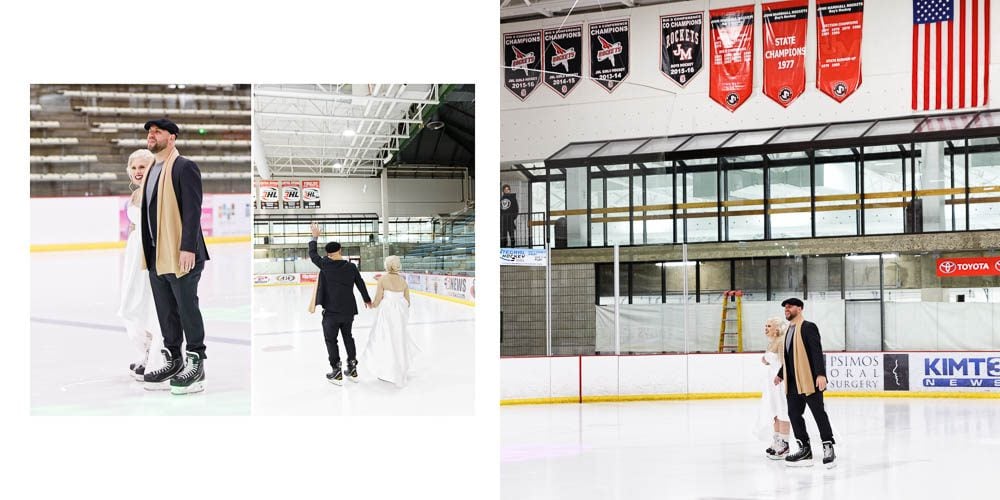
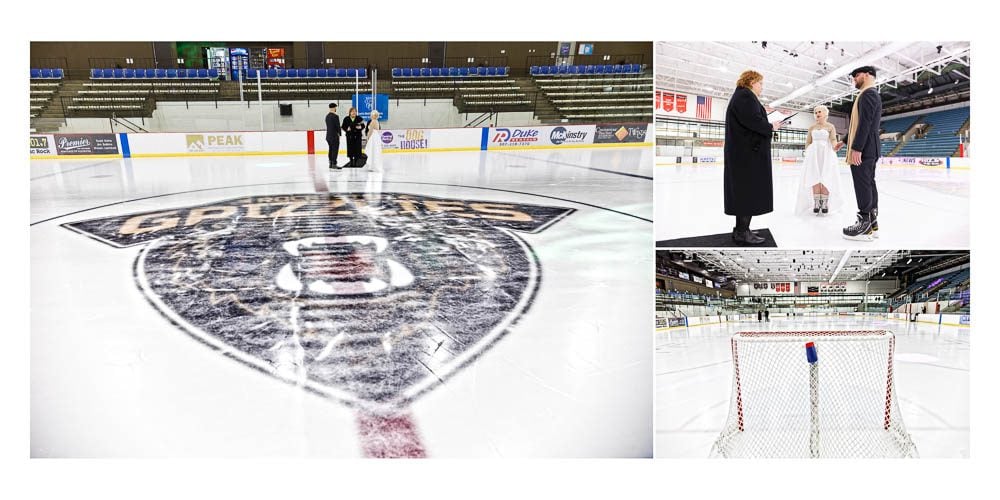
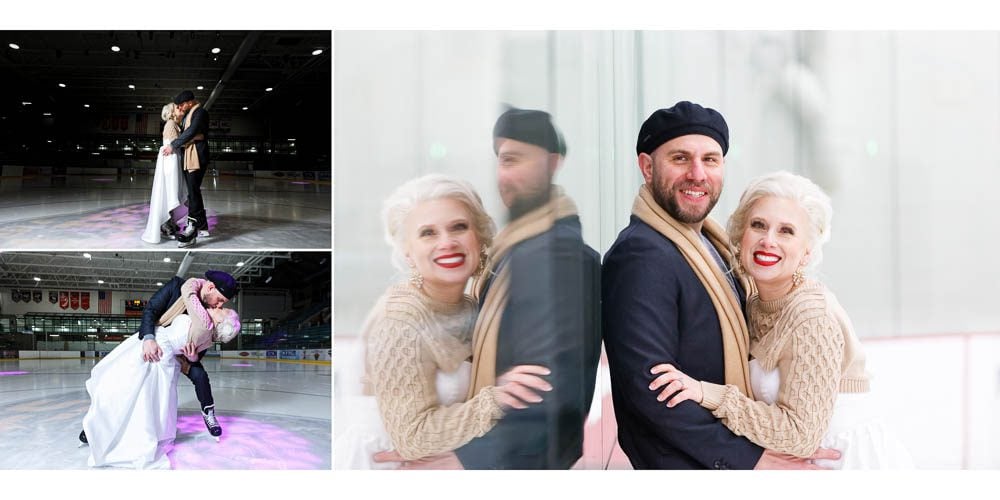
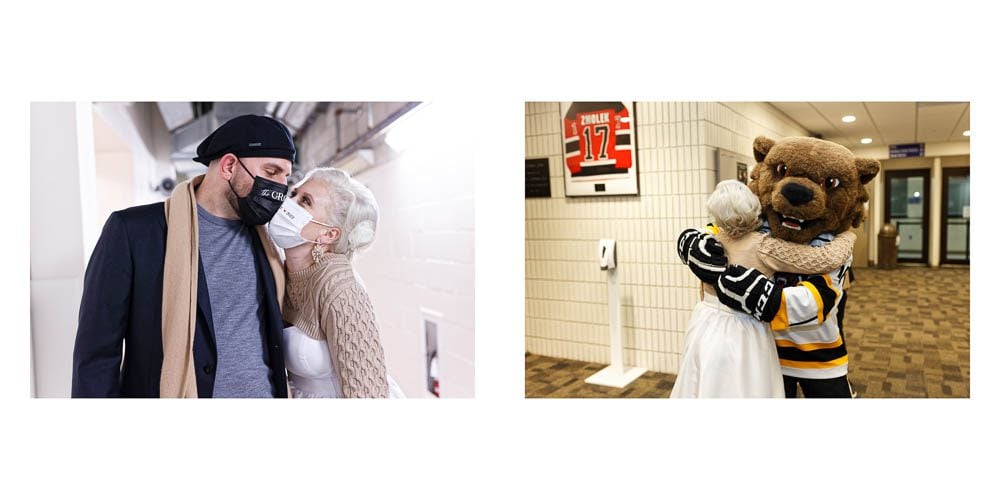
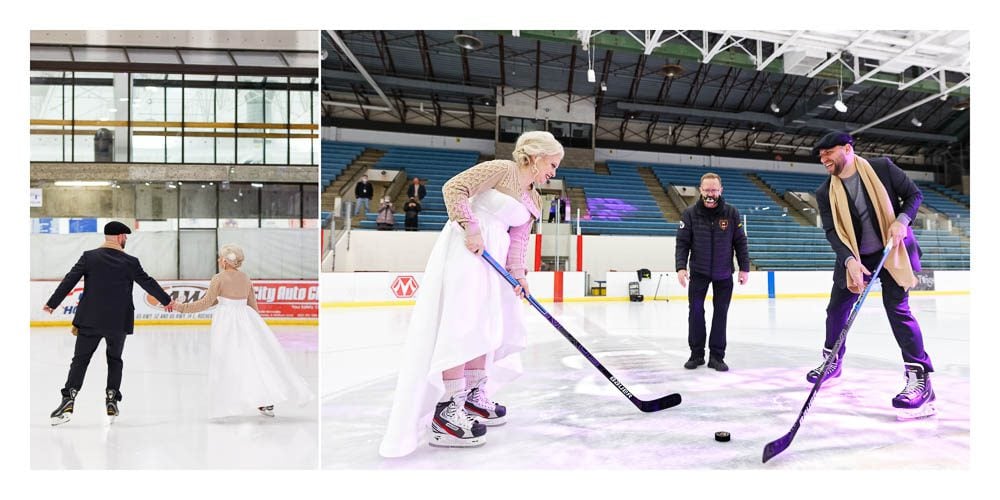
We photographers design the spreads, and we try to include the best moments of this special day. Knowing the bride and groom will keep their album all their life, we recommend keeping only the essential elements. Here is a list of ideas.
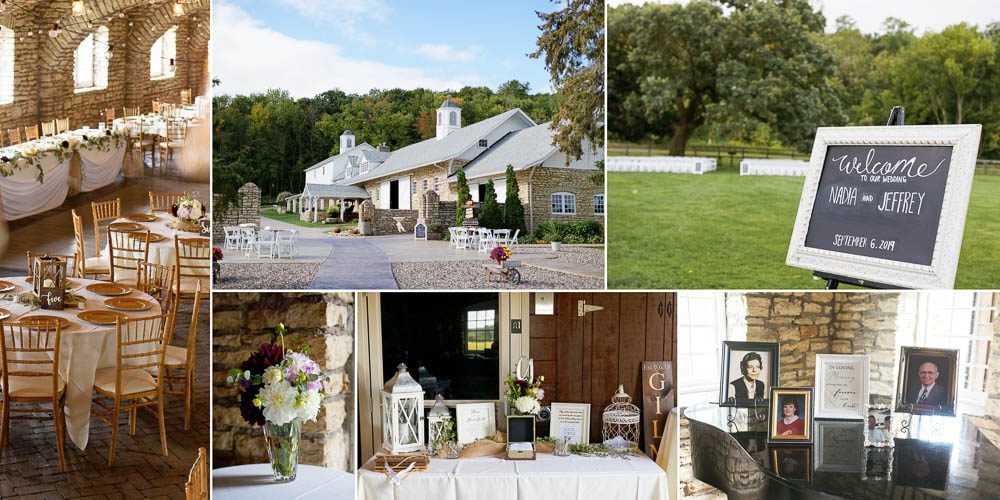
- Location, Set the Mood
- Stationery and Cards
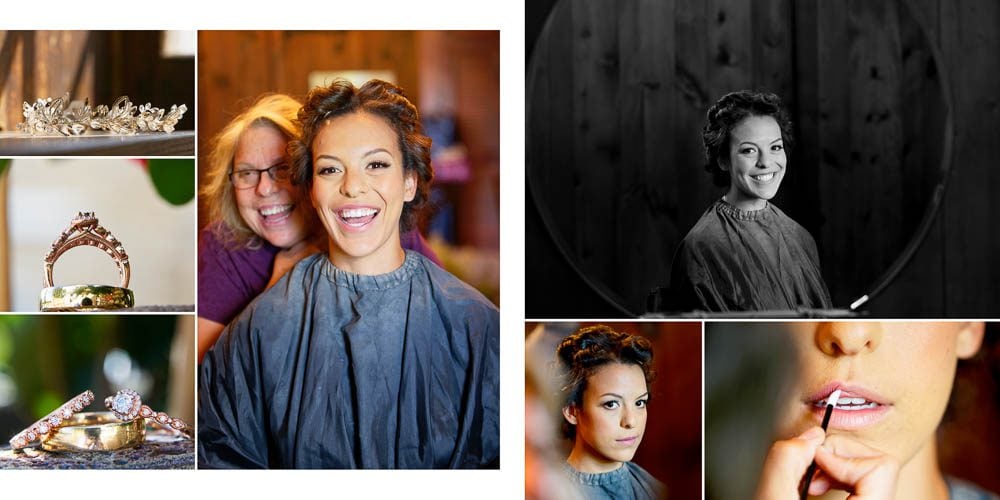
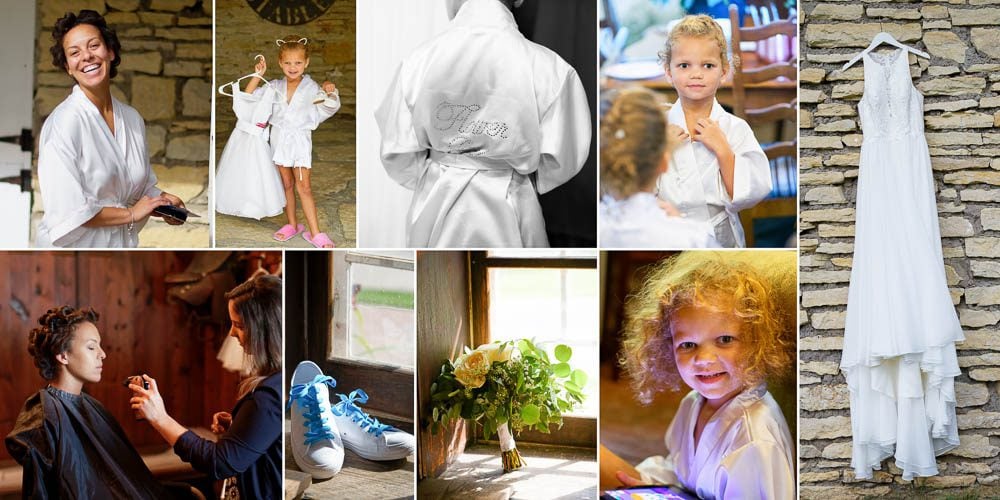
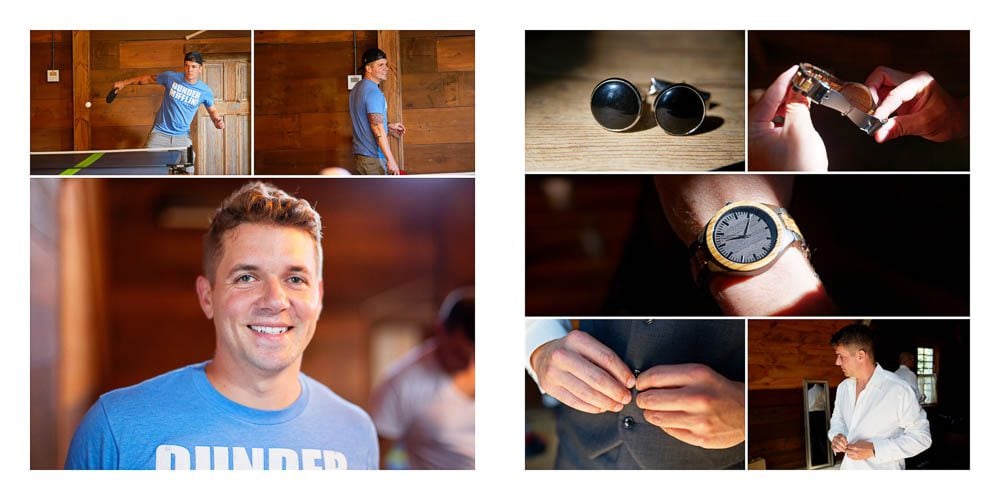
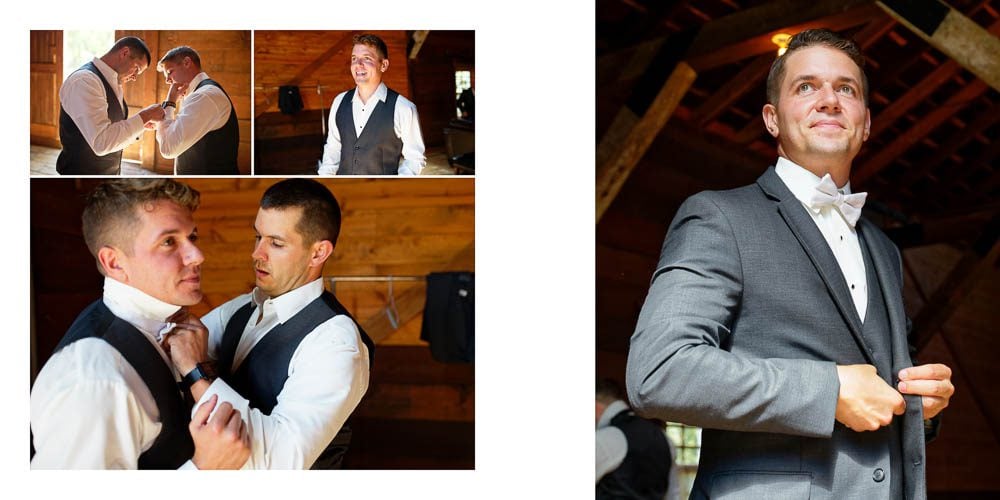
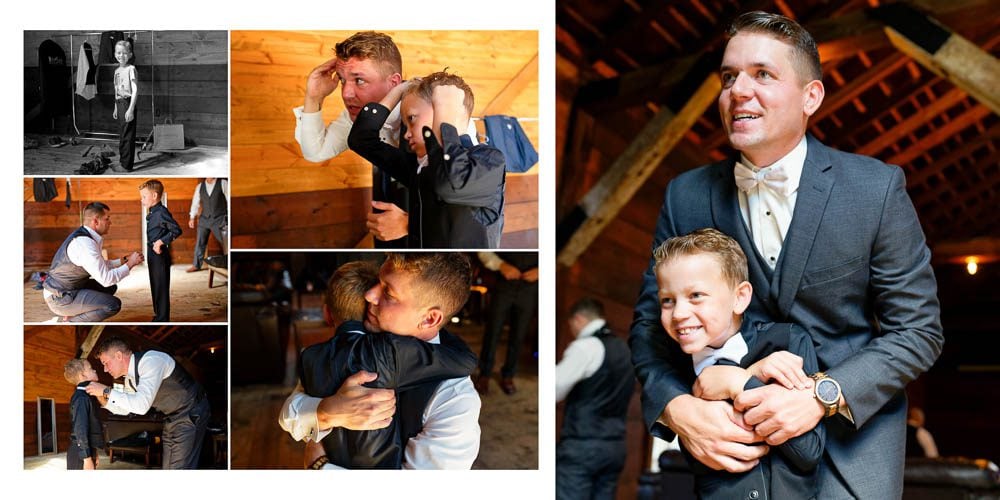
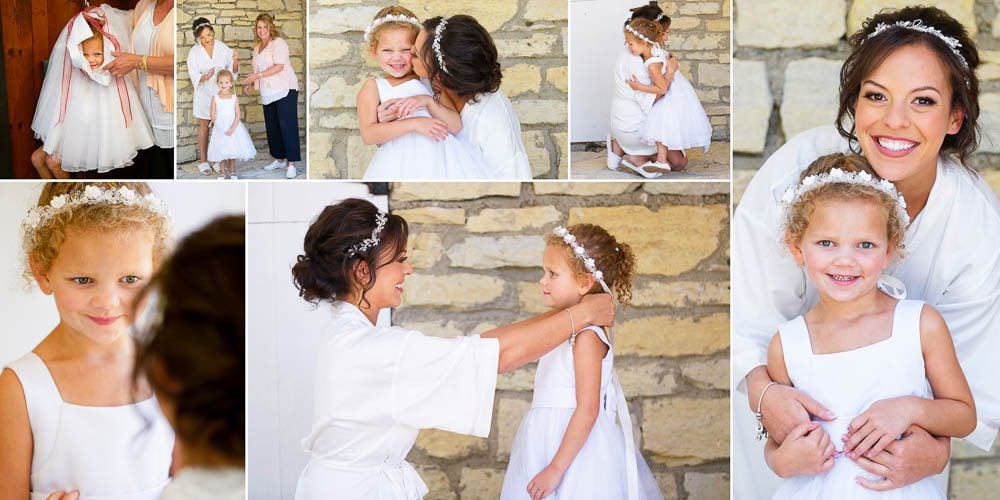
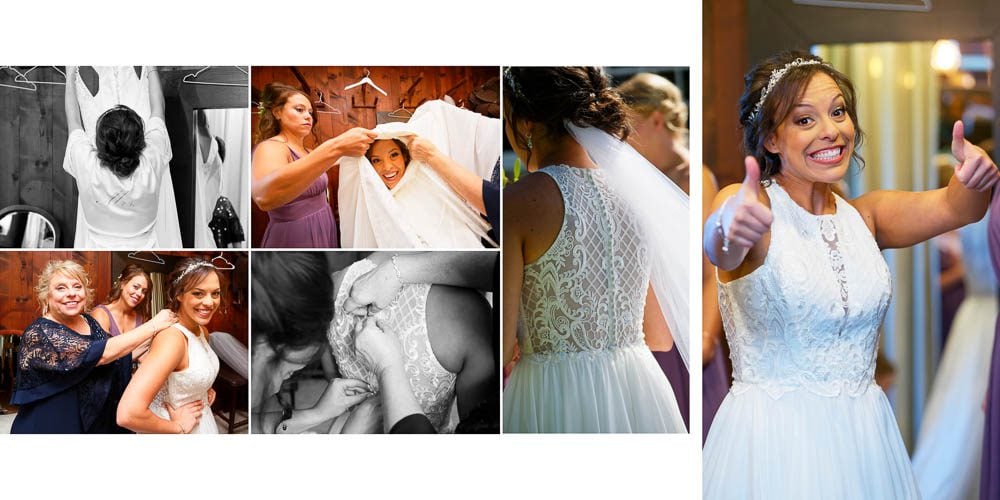
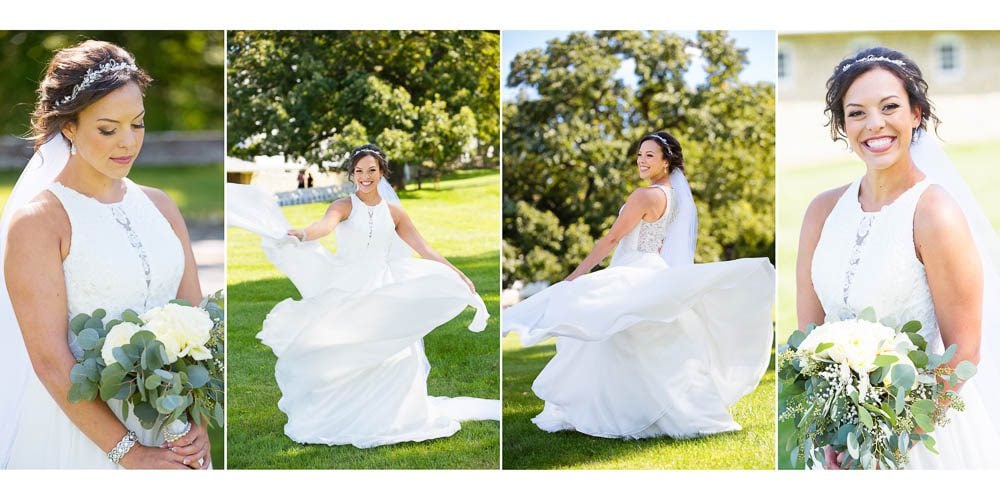
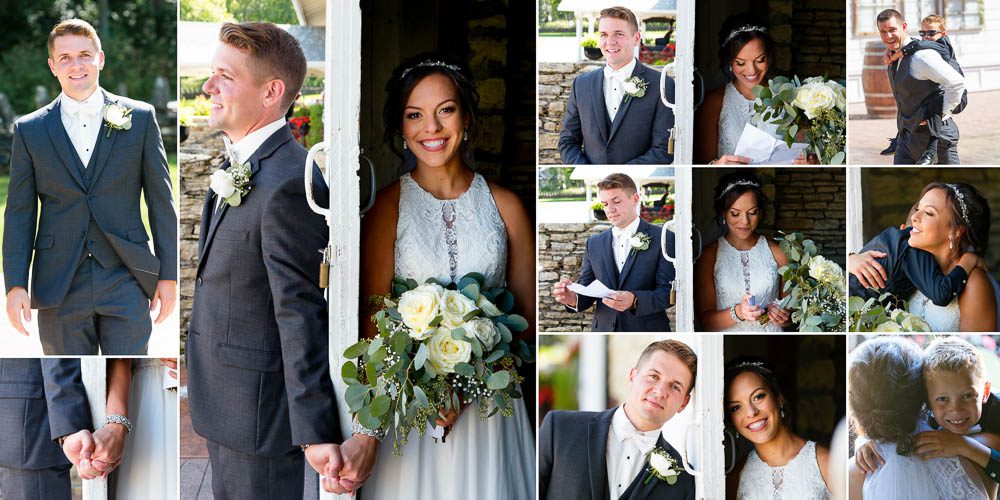
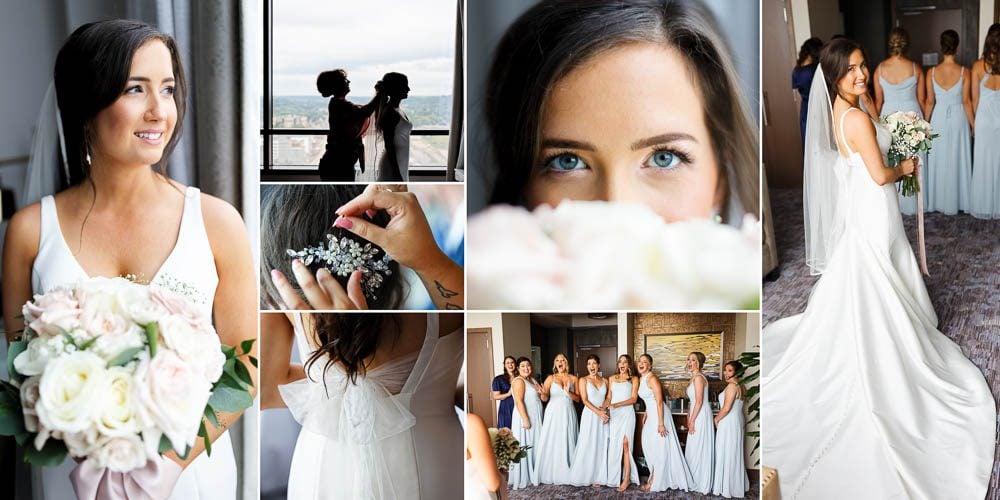
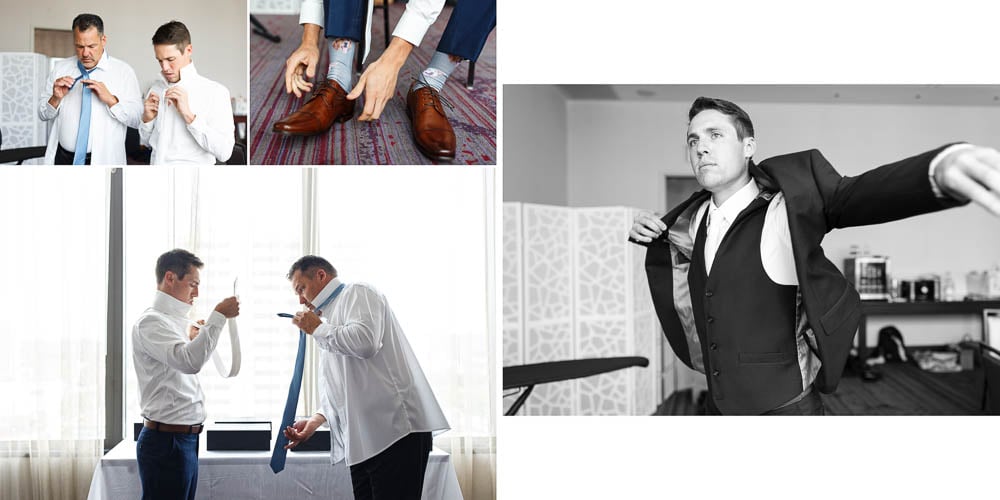
- Preparation
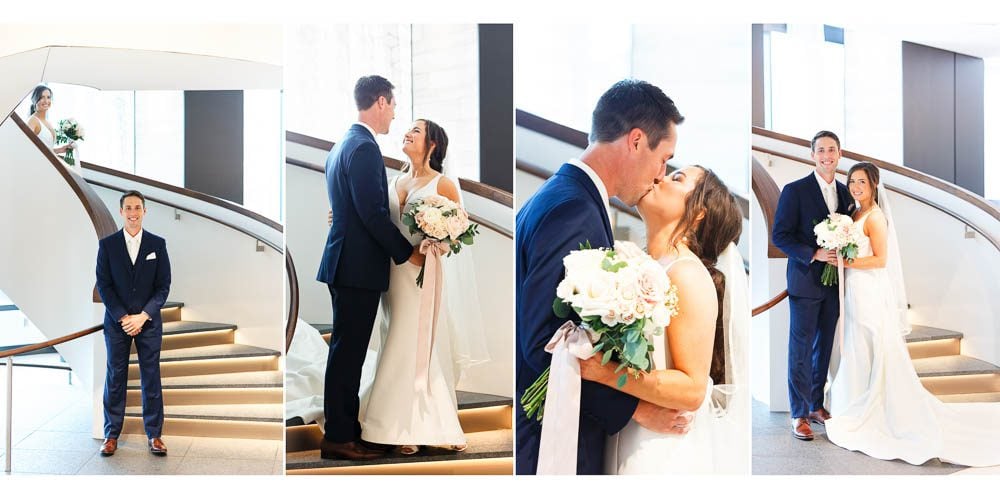
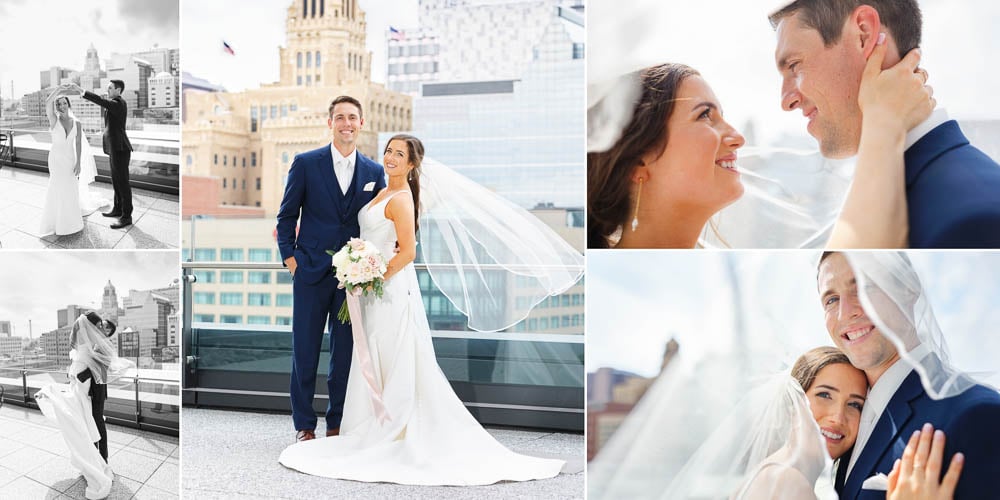
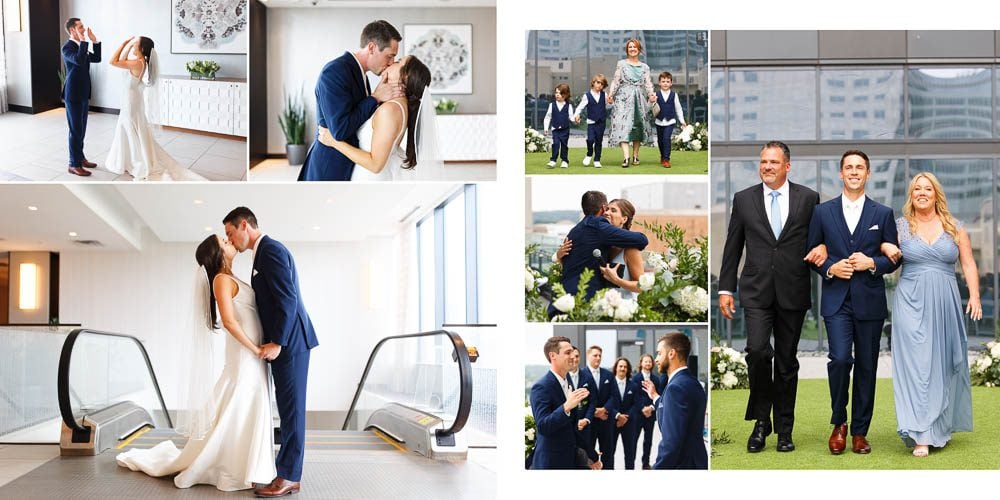
- First Look
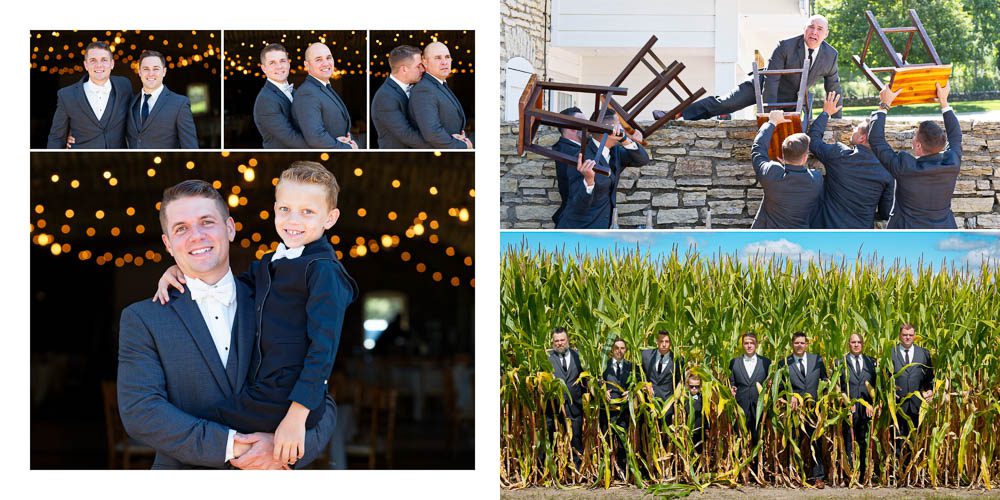
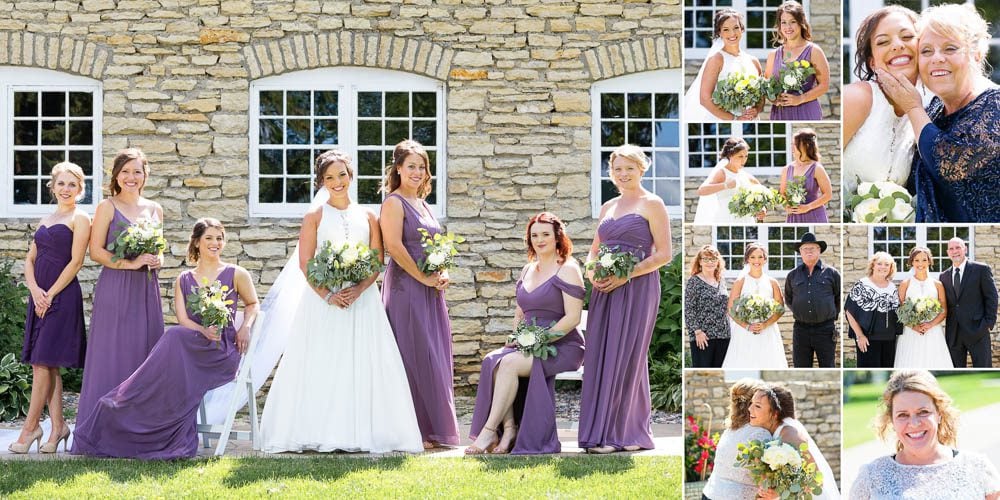
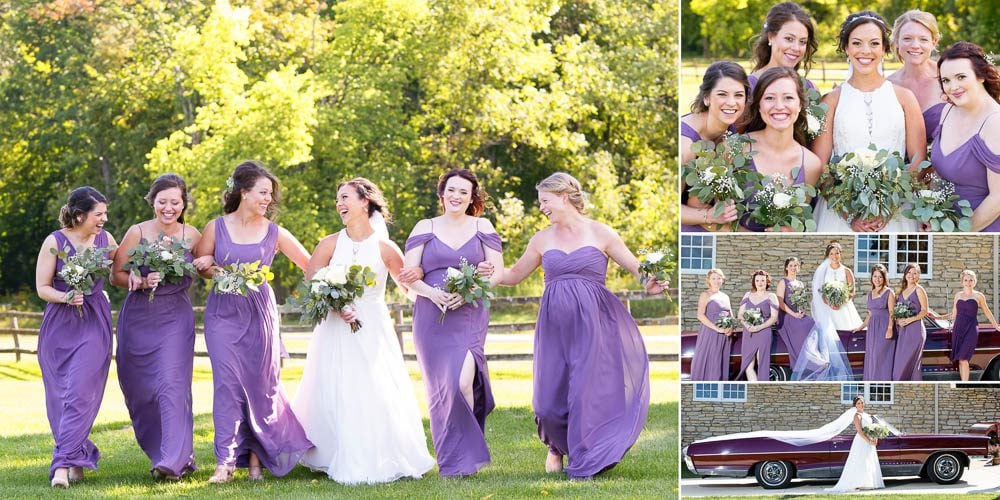
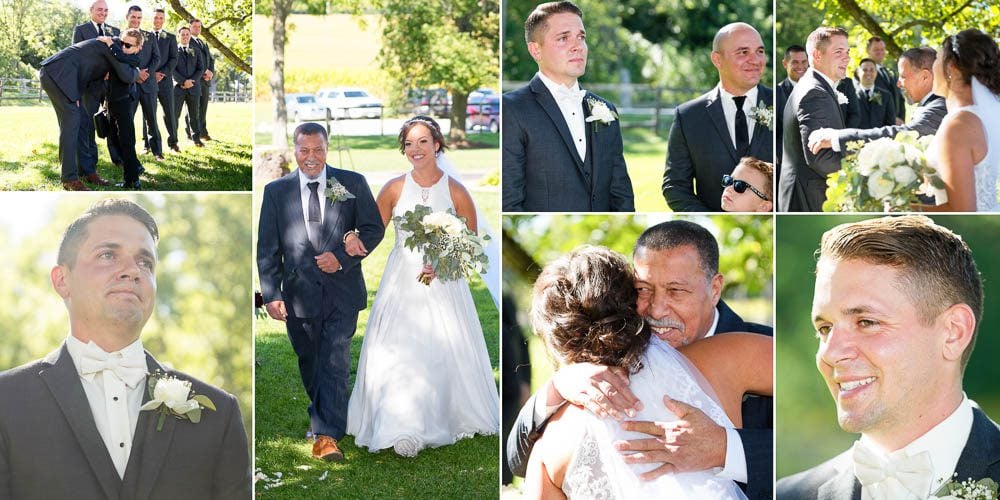
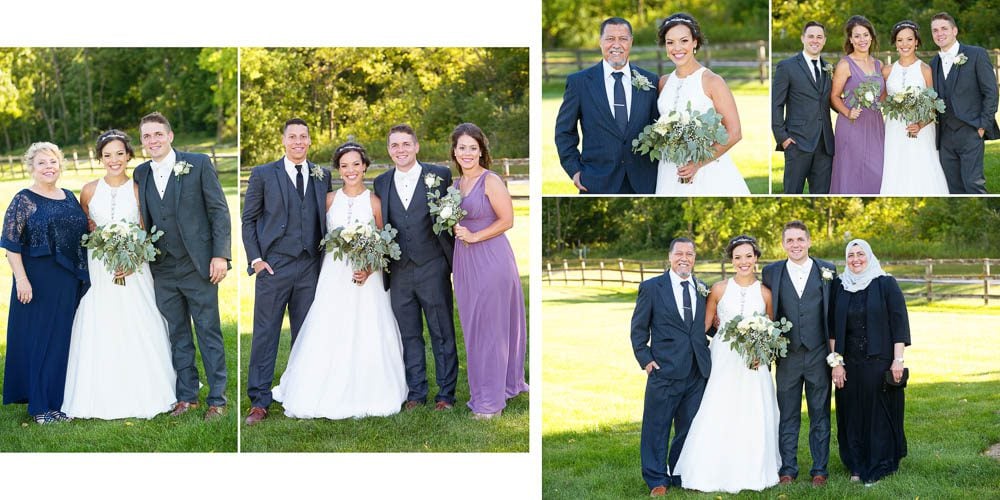
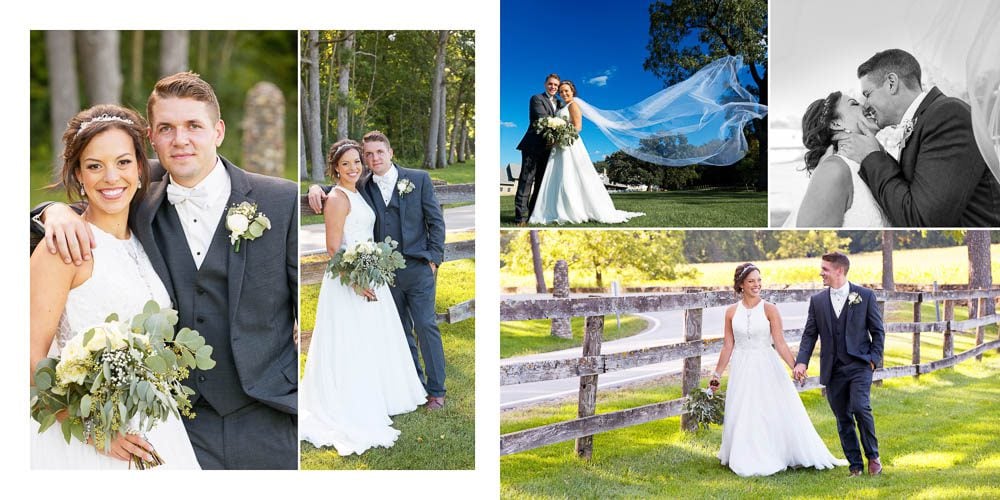
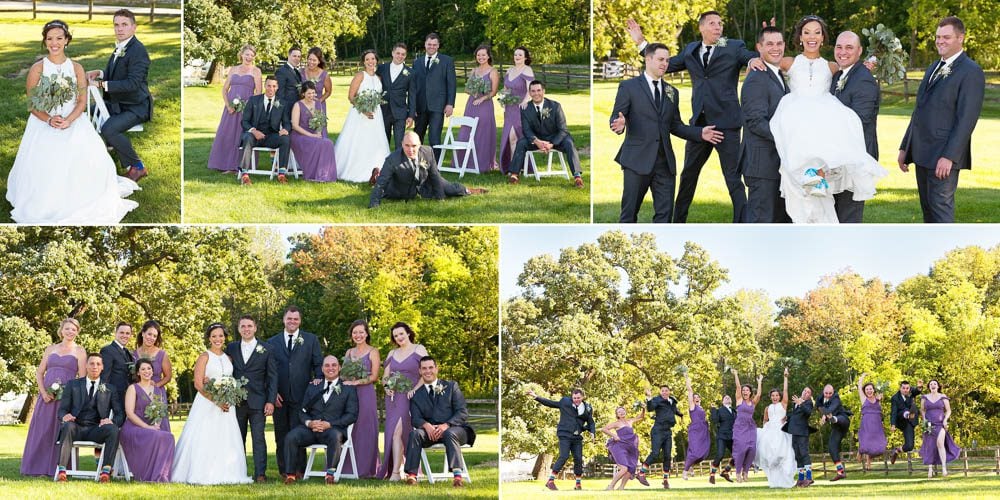
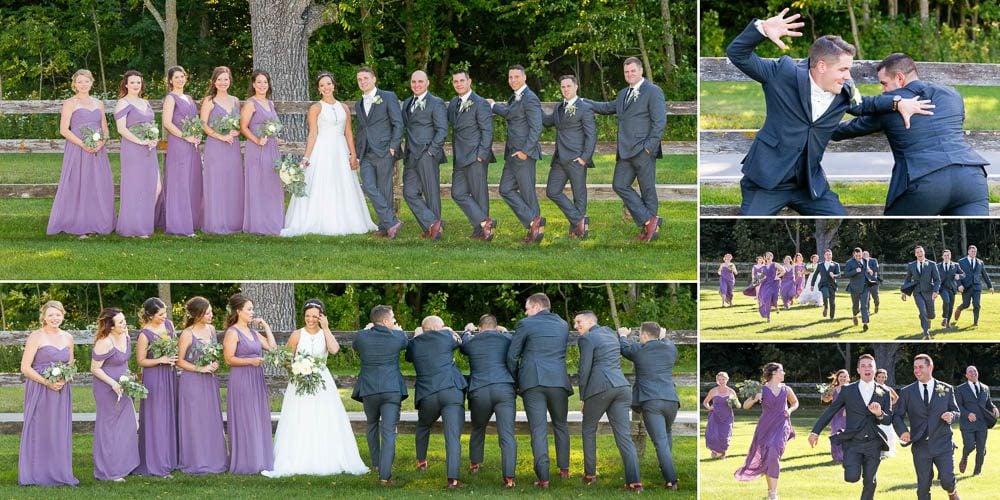
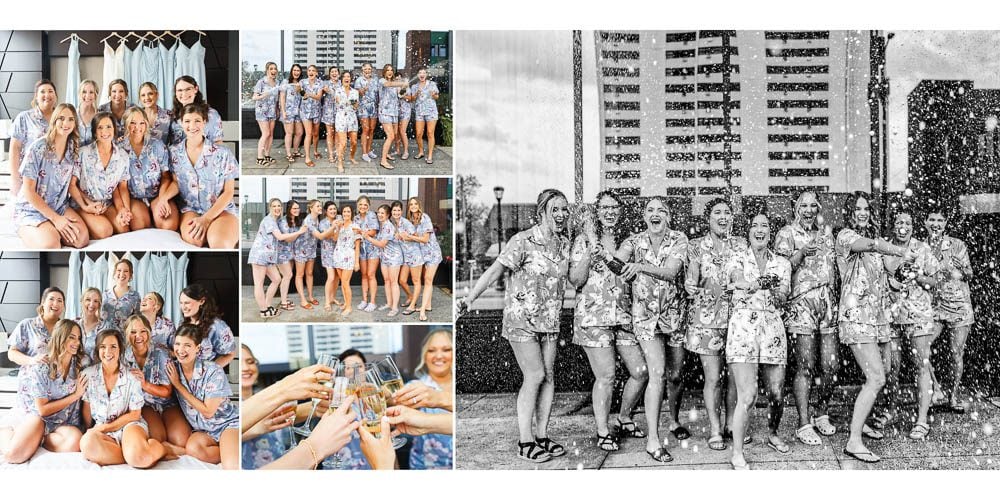
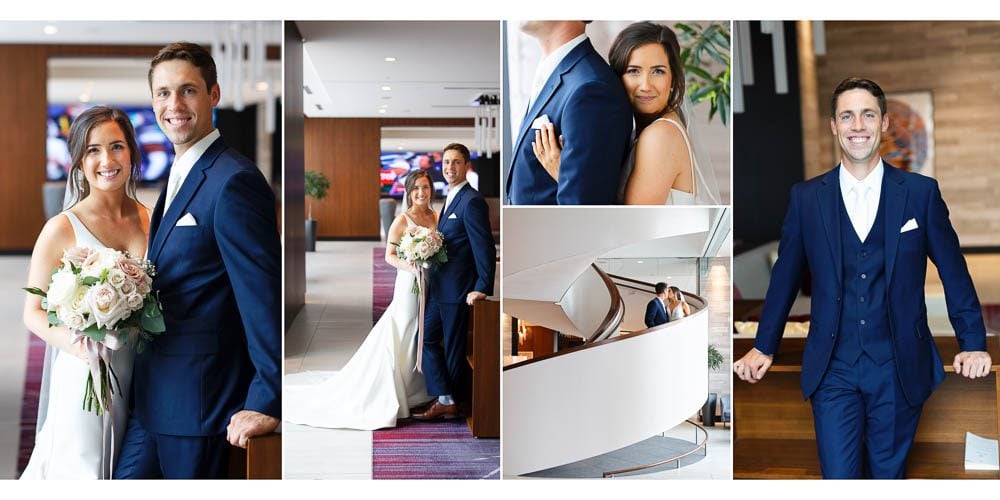
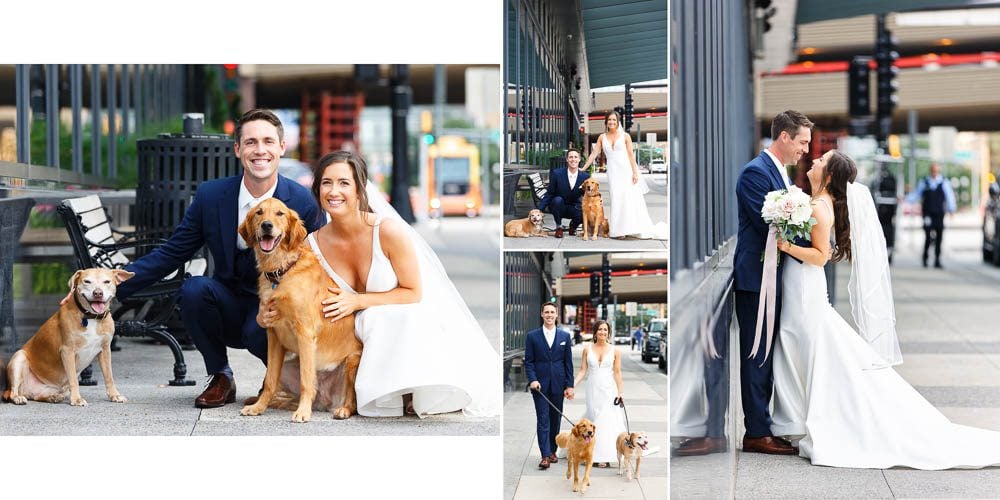
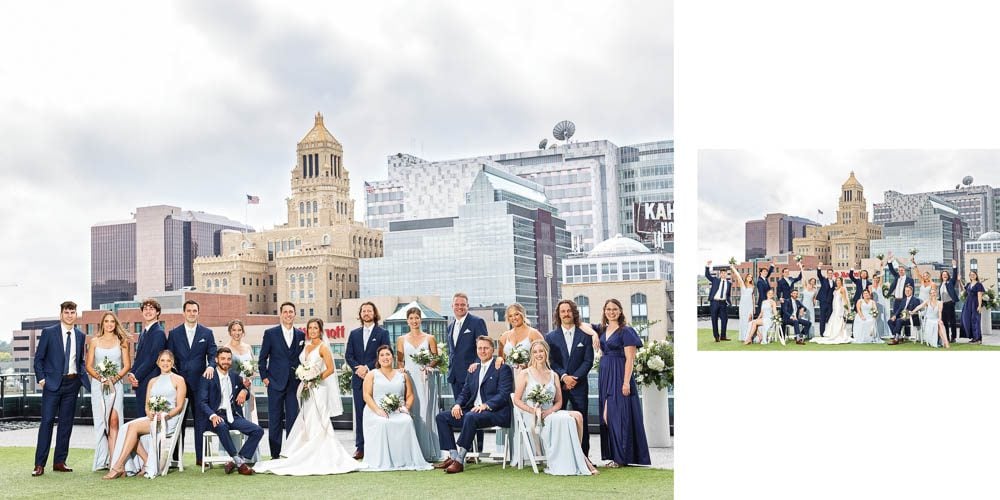
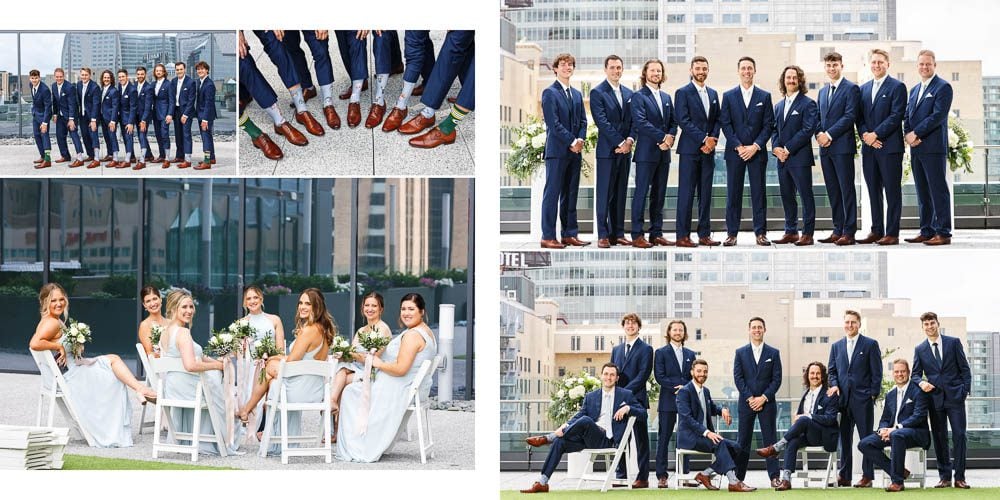
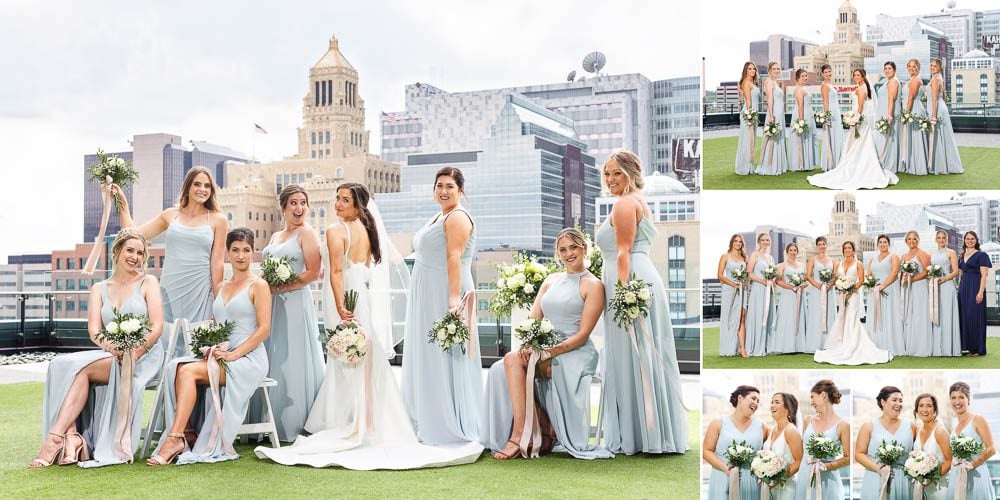
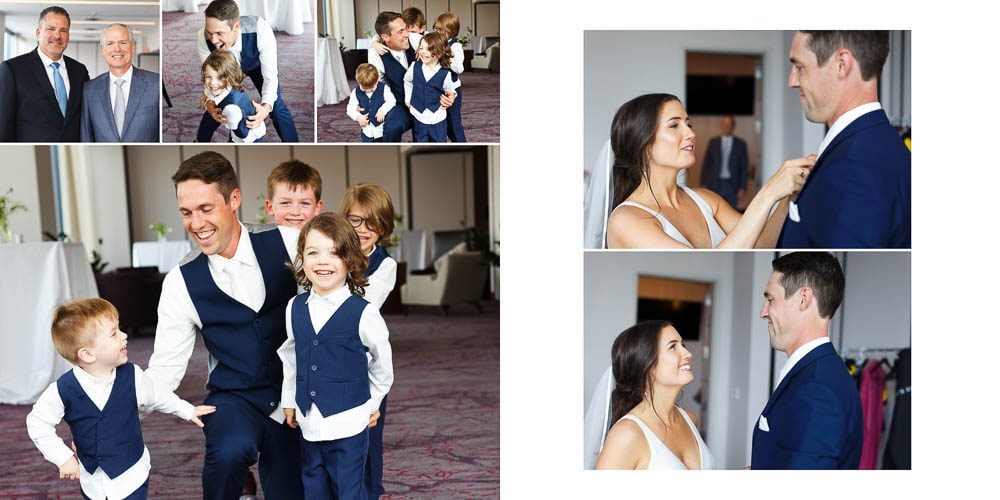
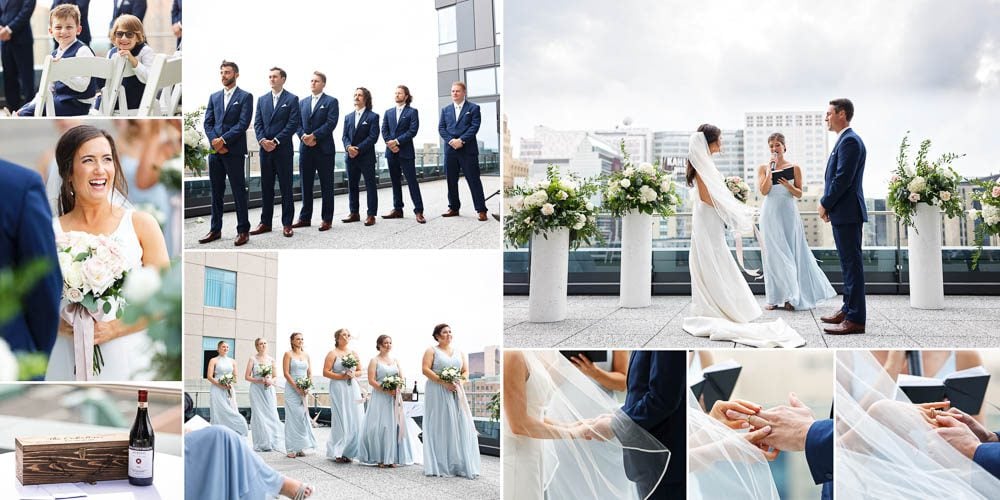
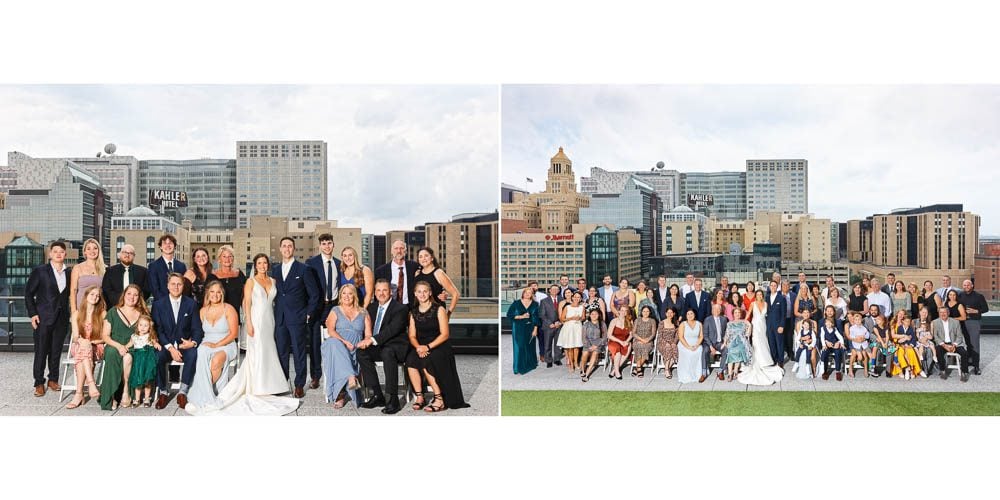
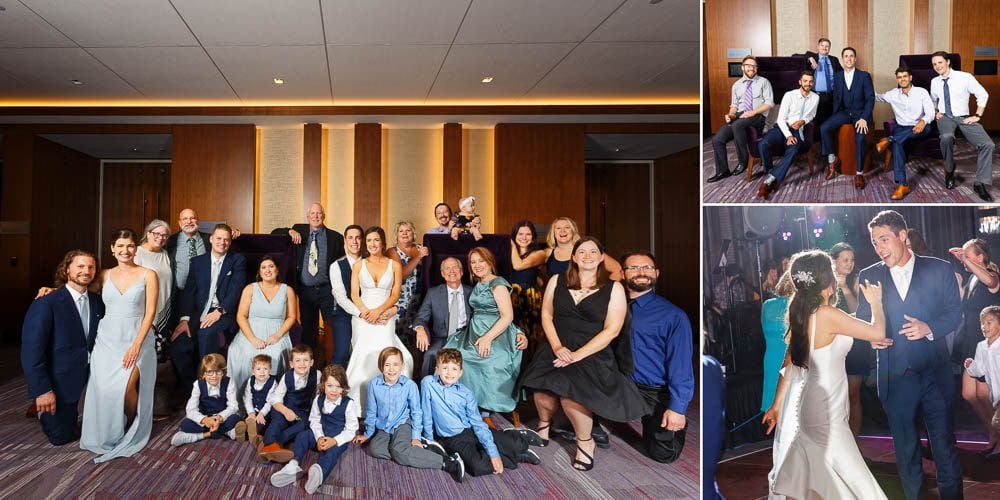
- Bridal Party
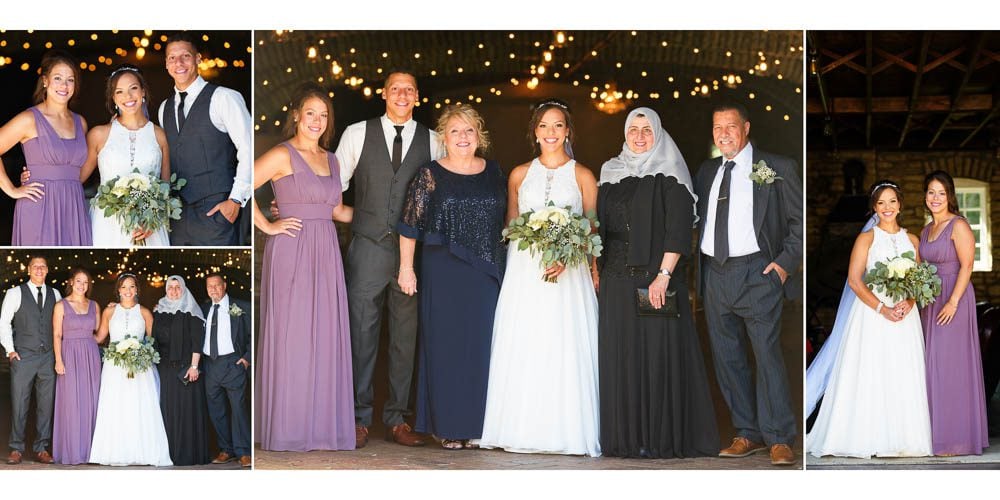
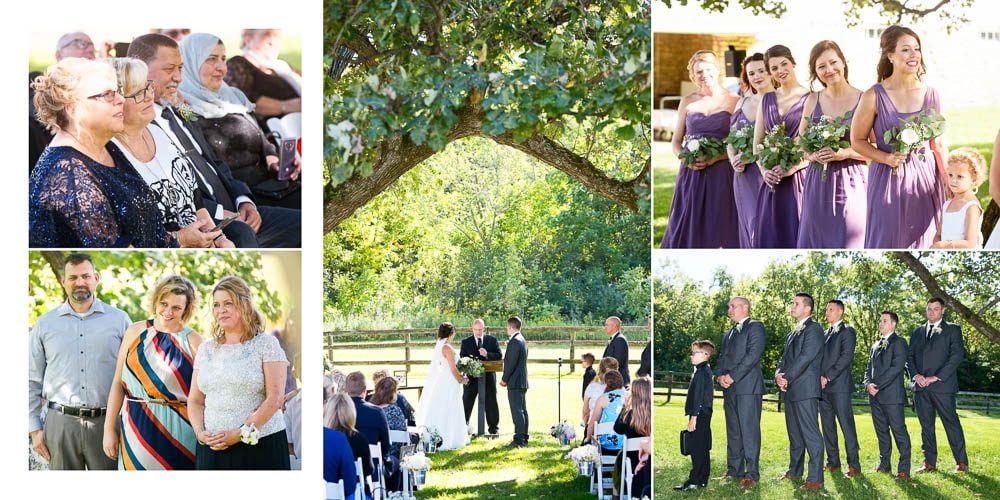
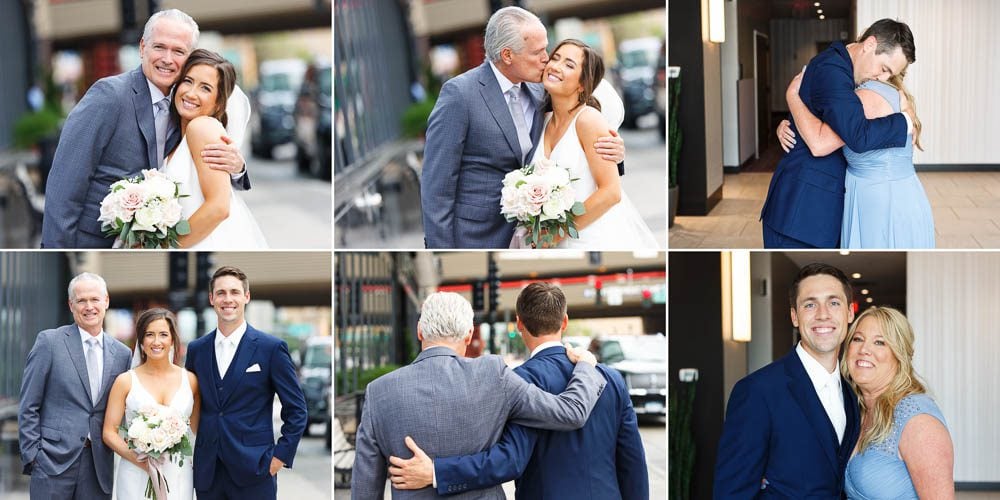
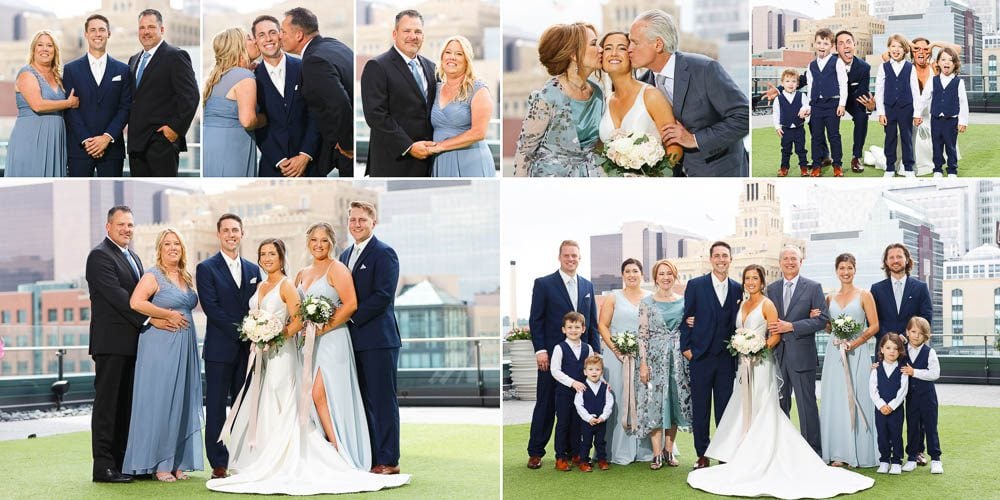
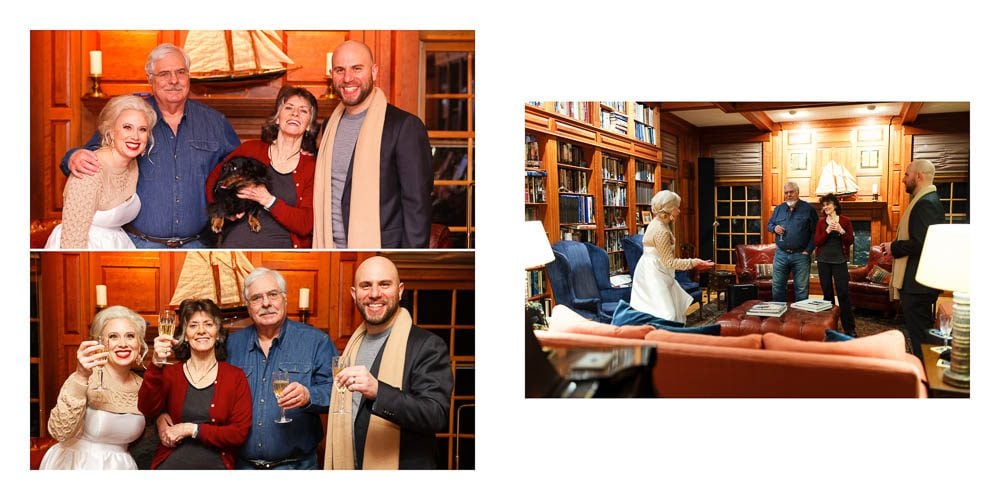
- Families
- Bride and Groom Walking Down the Aisle
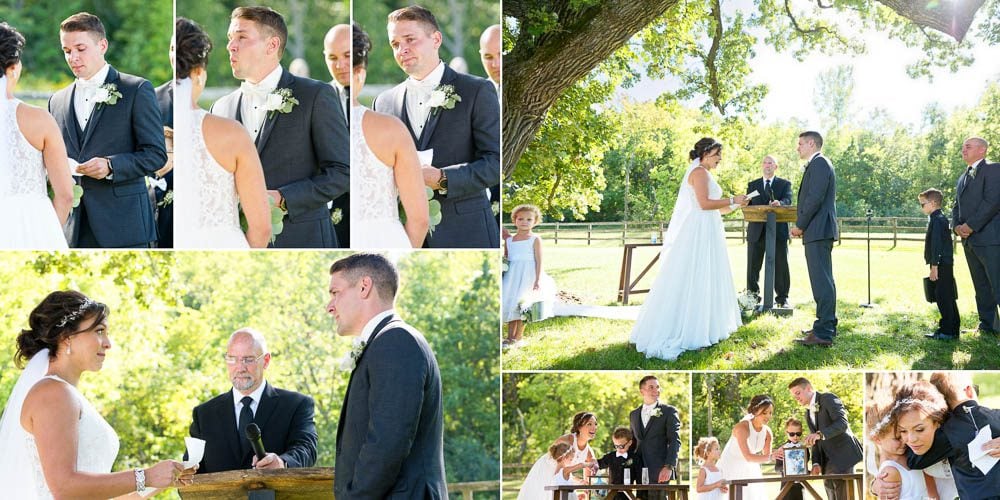
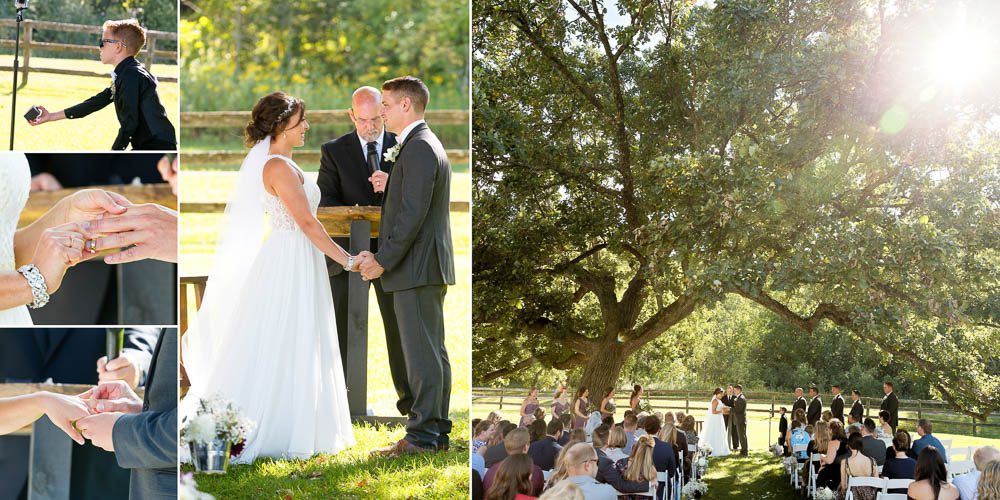
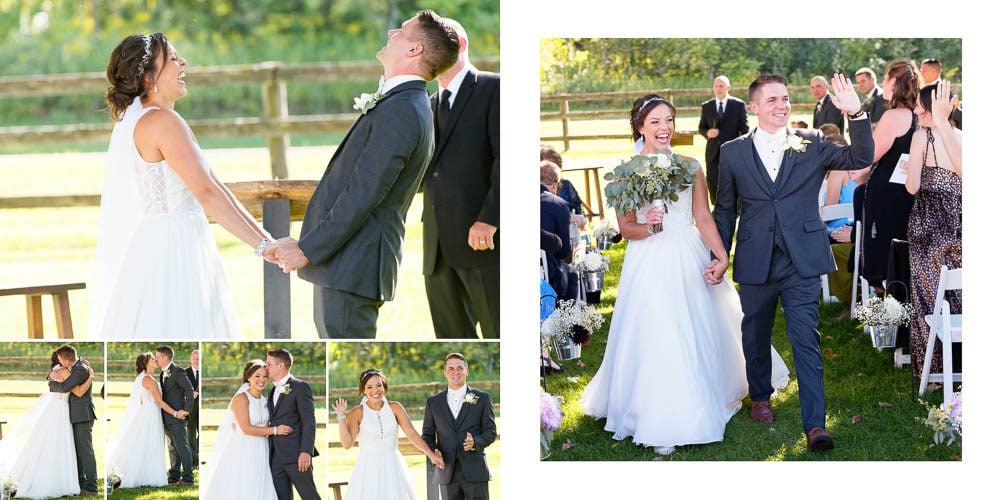
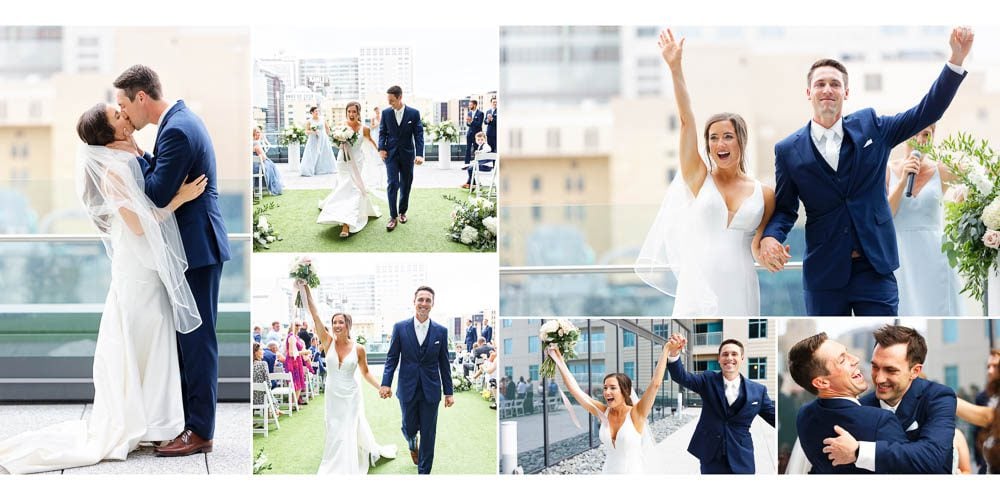
- Ceremony
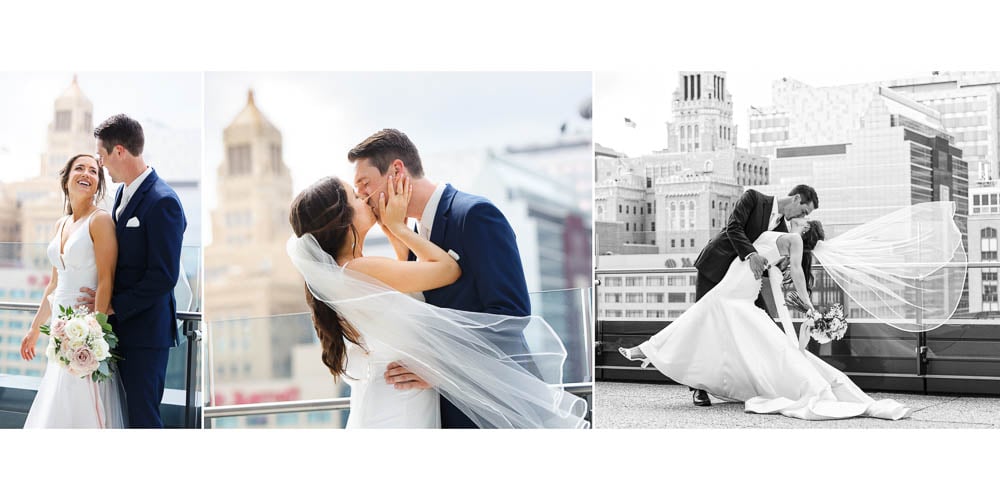
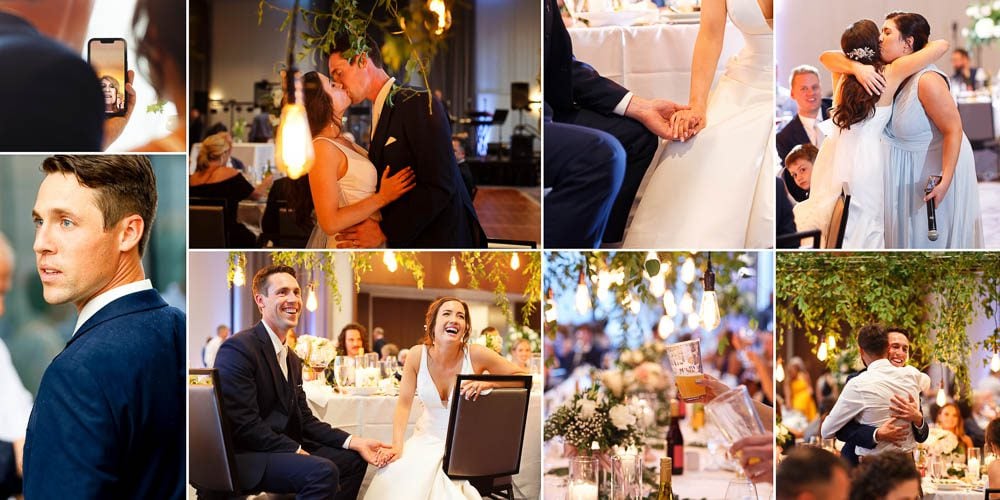
- Candid Scenes
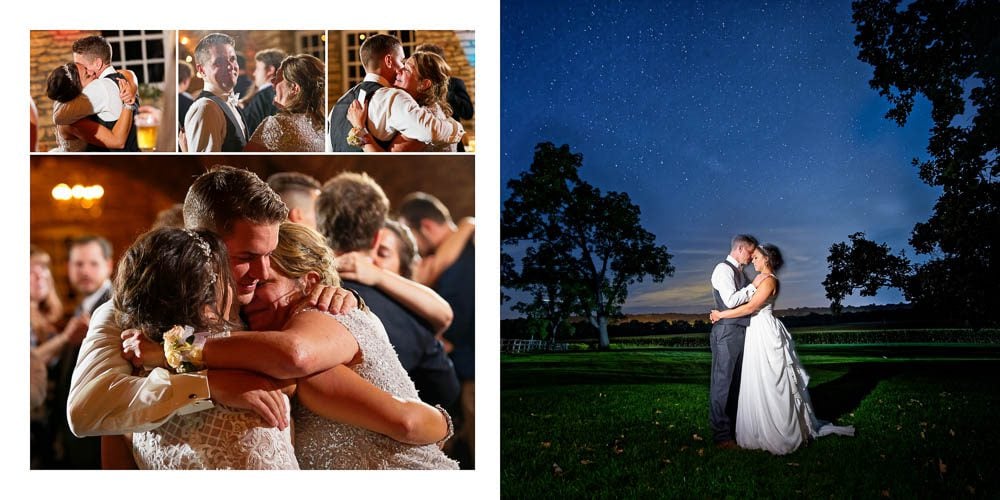
- Reception
- Toast
- Celebration
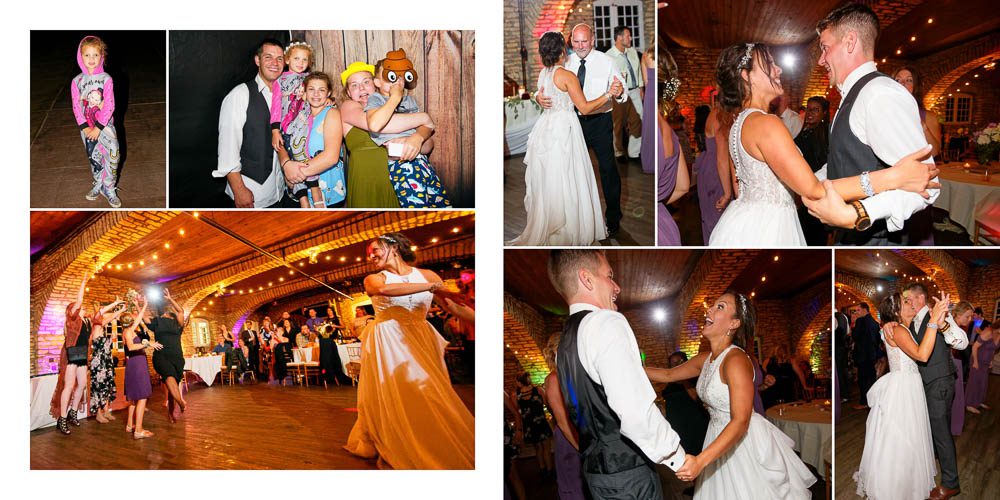
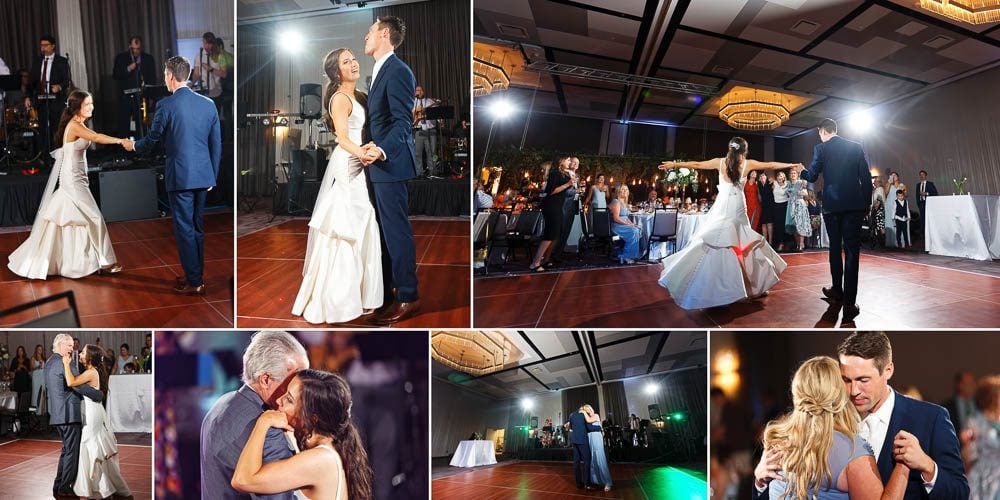
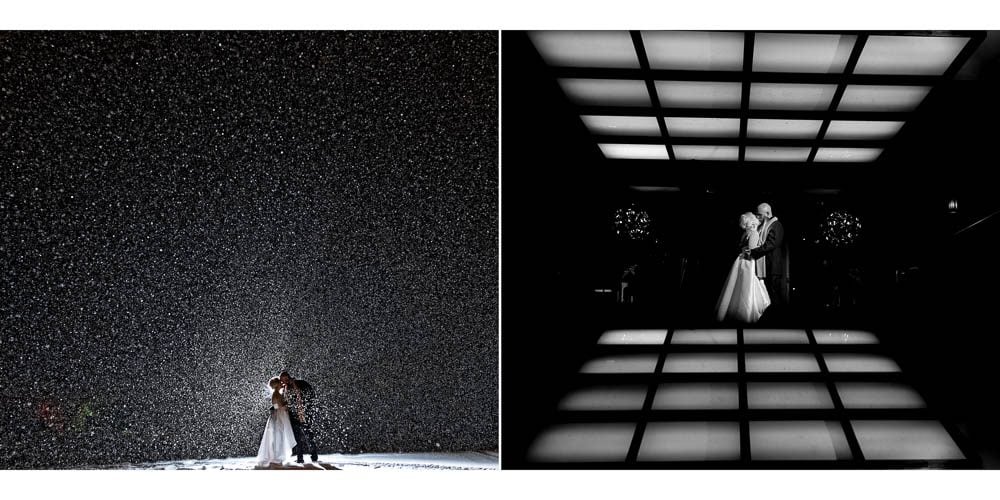
- Dancing
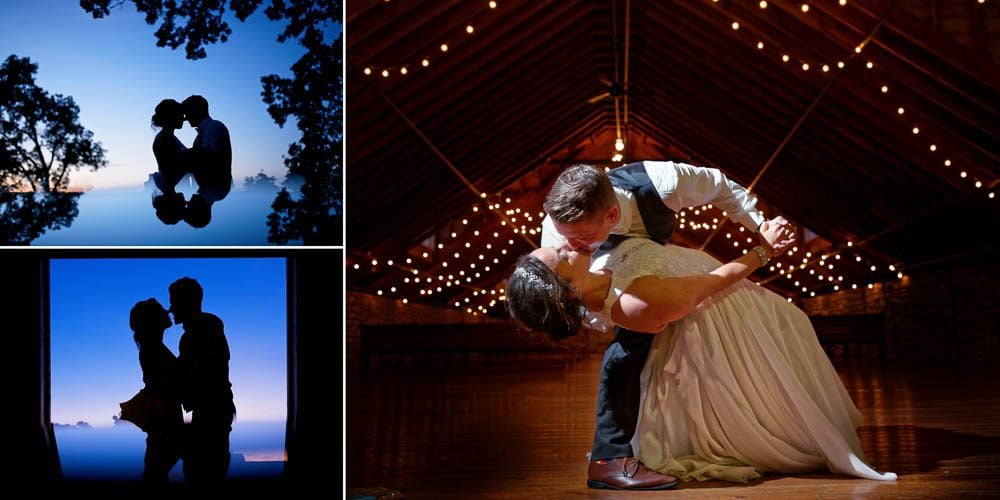
- Artistic and Creative
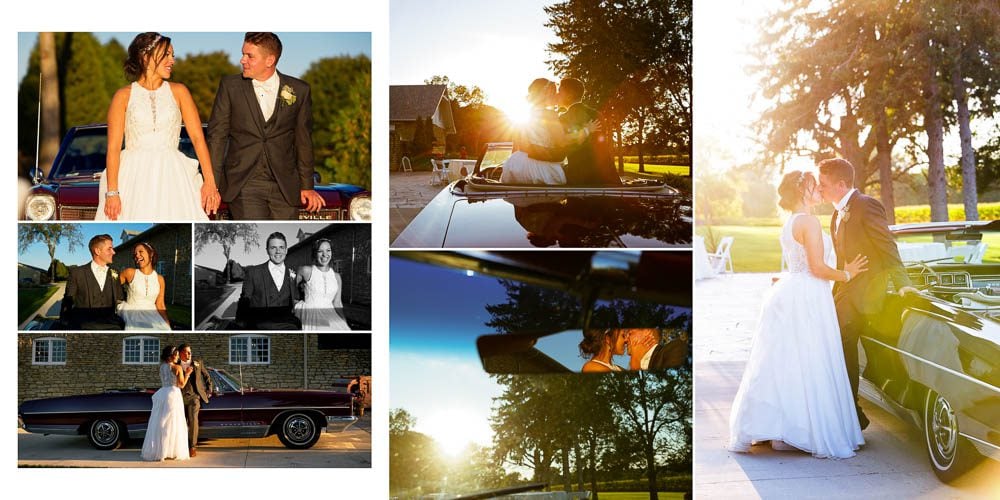
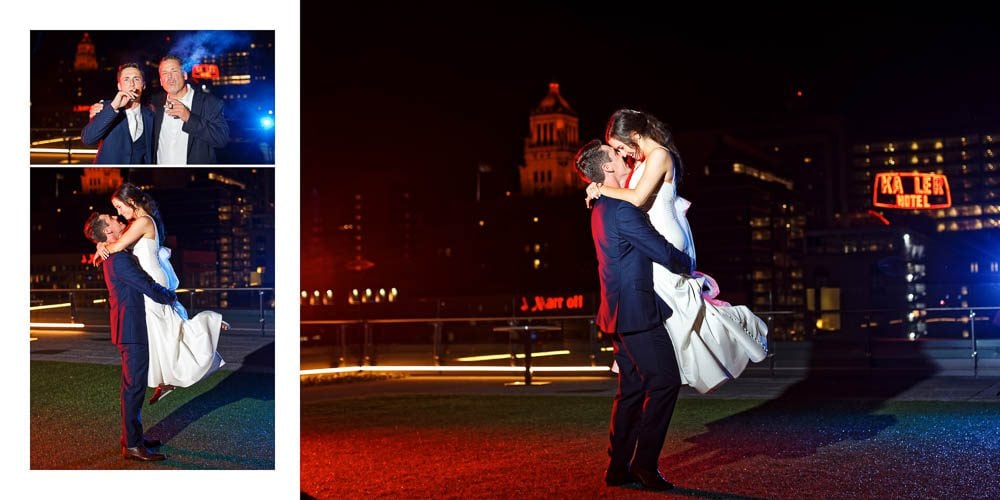
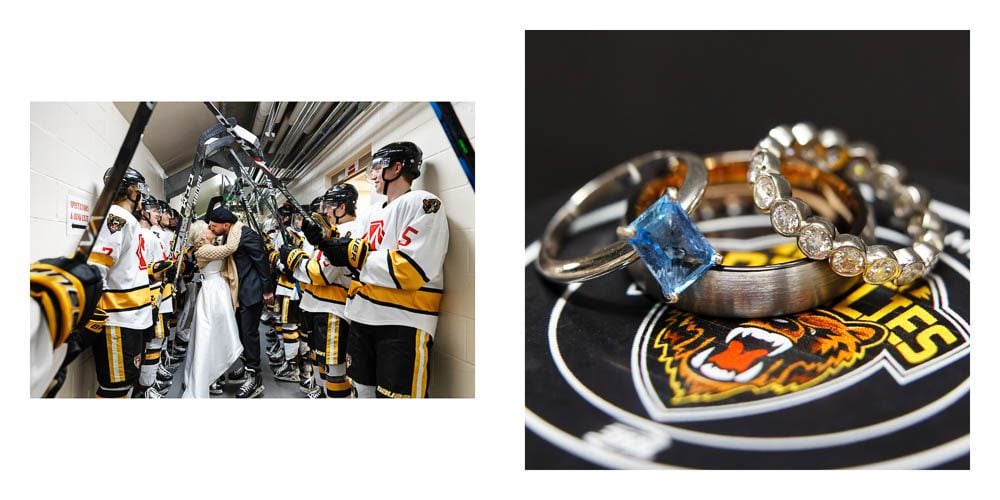
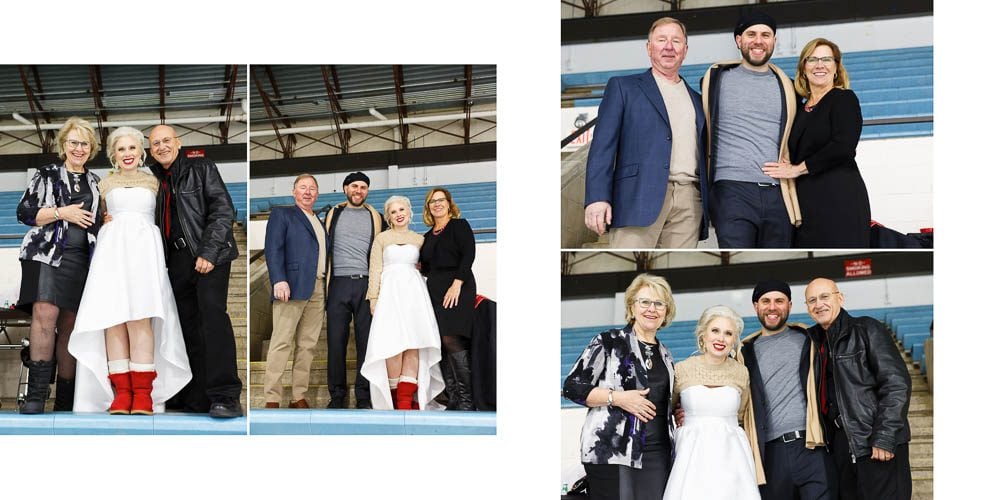
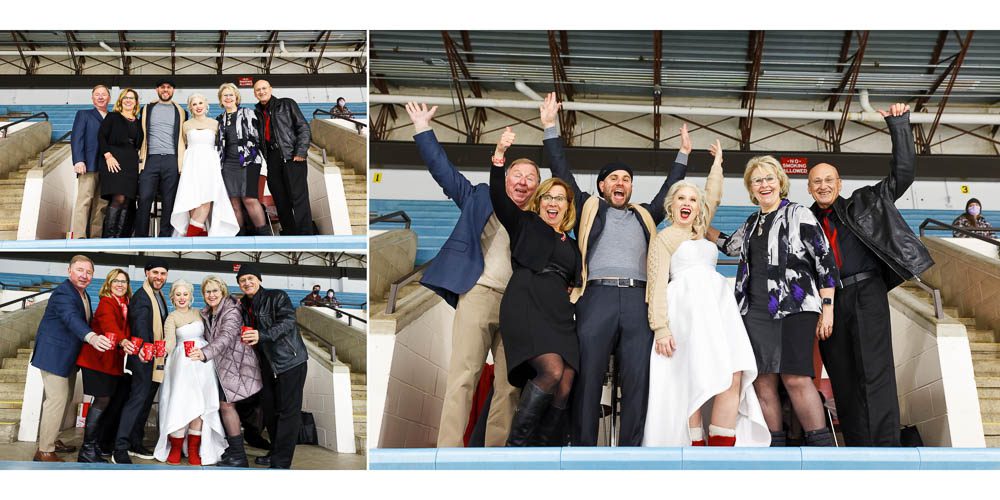
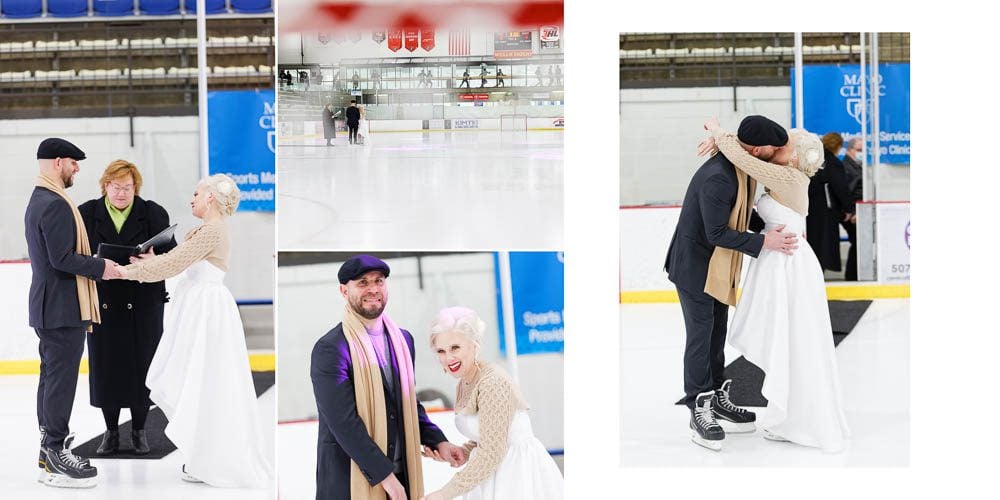
Layout Example 1
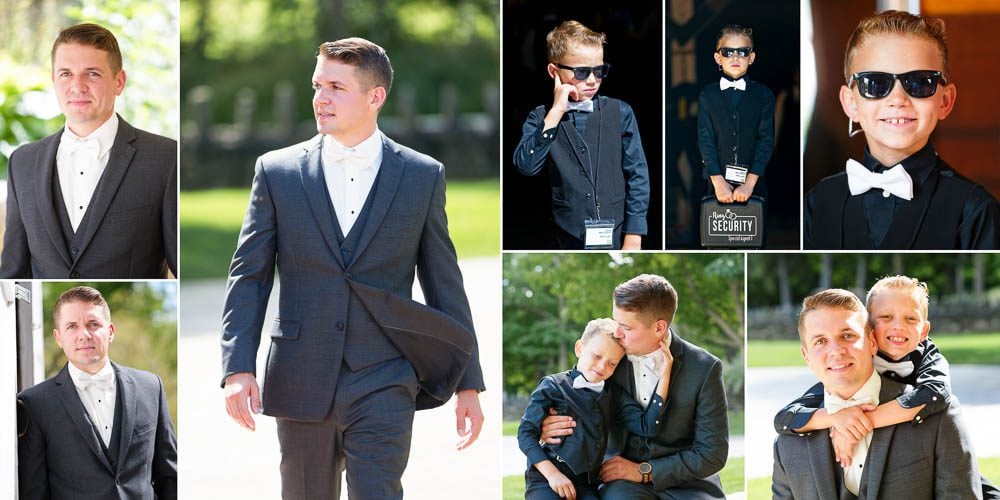
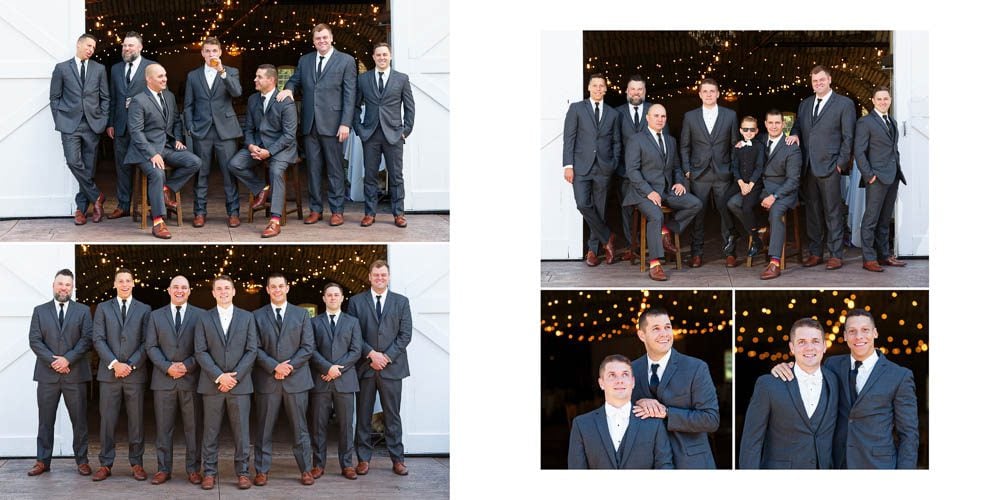
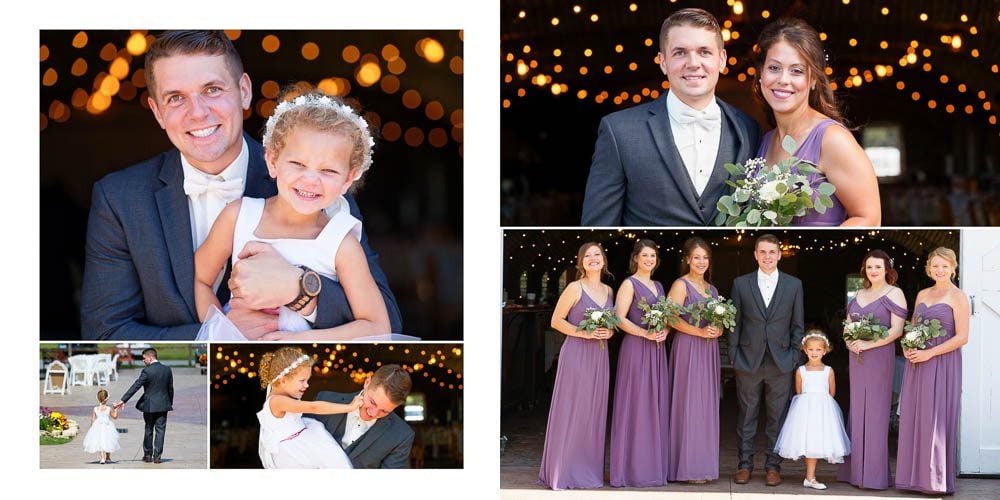
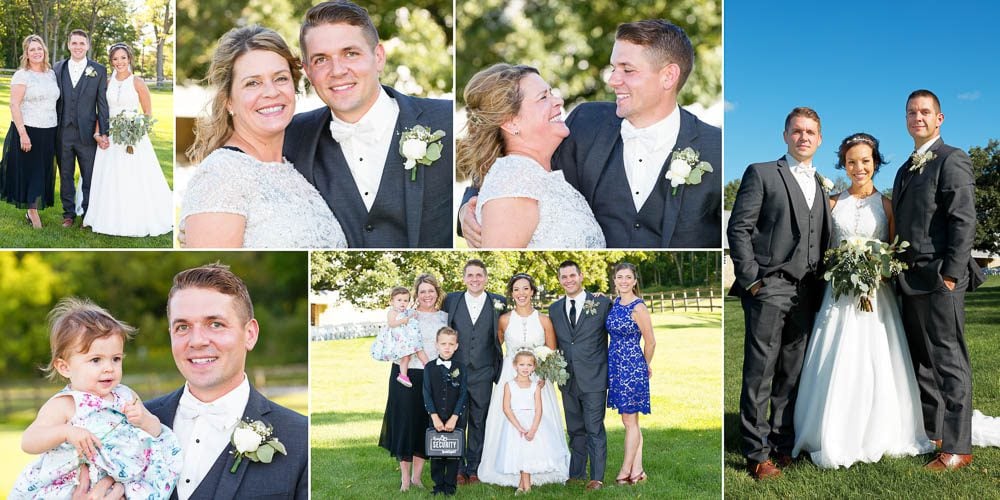
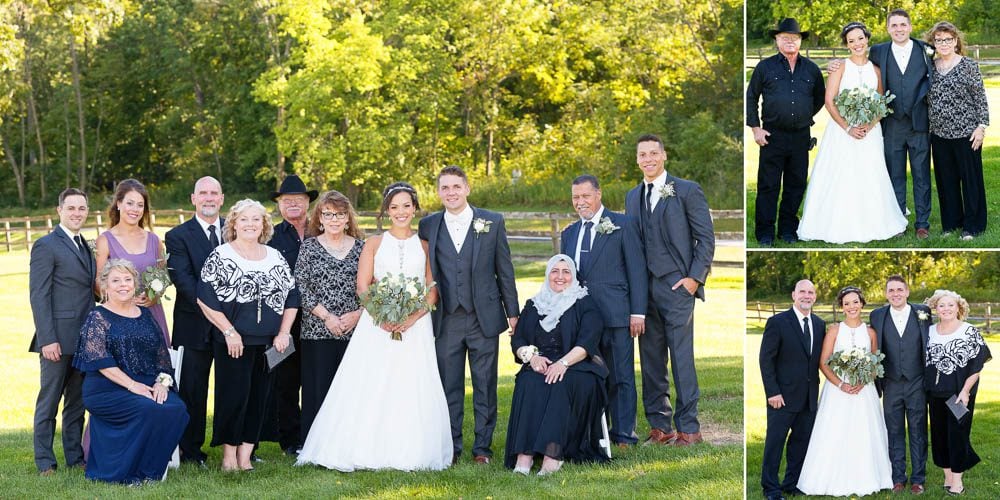
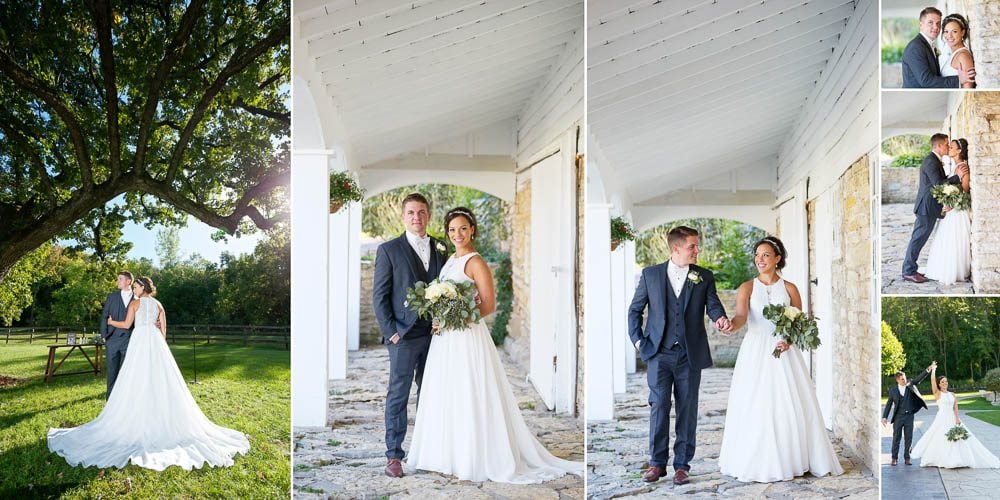

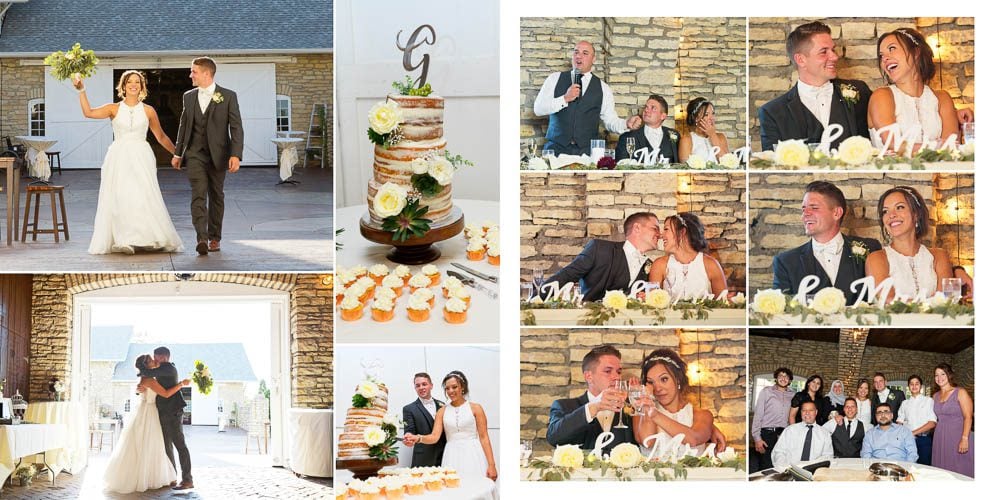
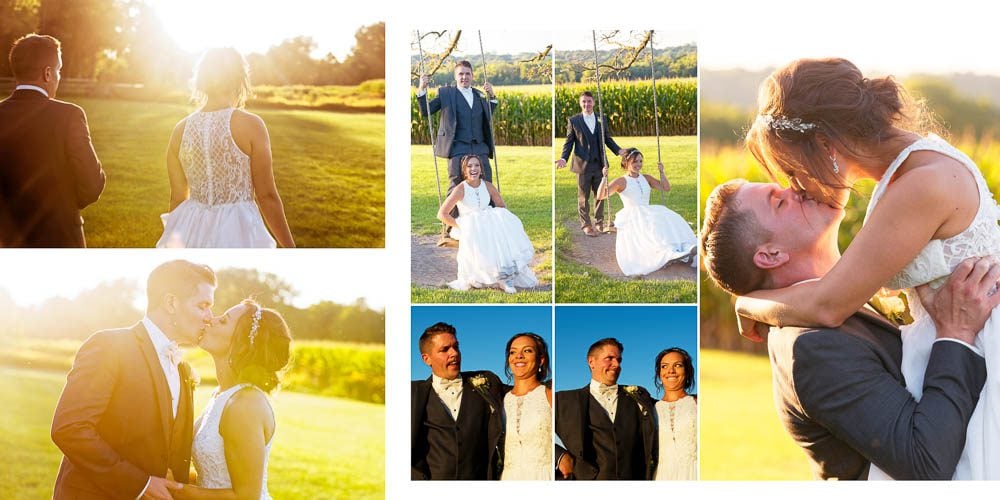
Layout Example 2


What’s the Best Type of Wedding Album?
Choose the Right Type of Album That Matches Your Style
Today, you have 4 types of wedding albums on the market or DIY:
- The old classic ones DIY where you slip/print. Pretty outdated today, those are the ones used by our parents/grandparents.
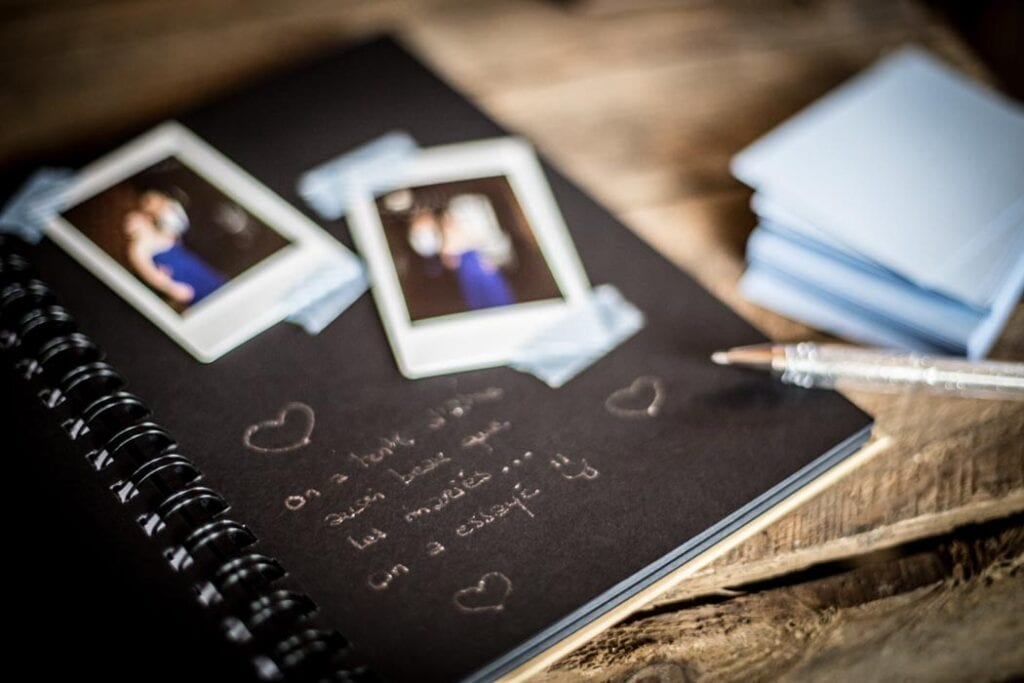
- The DIY scrapbook style one where you can glue things, write comments, and add stickers. Great for people who love scrapbooking.
- The “cheap” internet photo-book. Usually economical (even if they cost a lot for bad quality), they are printed on paper that won’t last long, which is cheap binding.
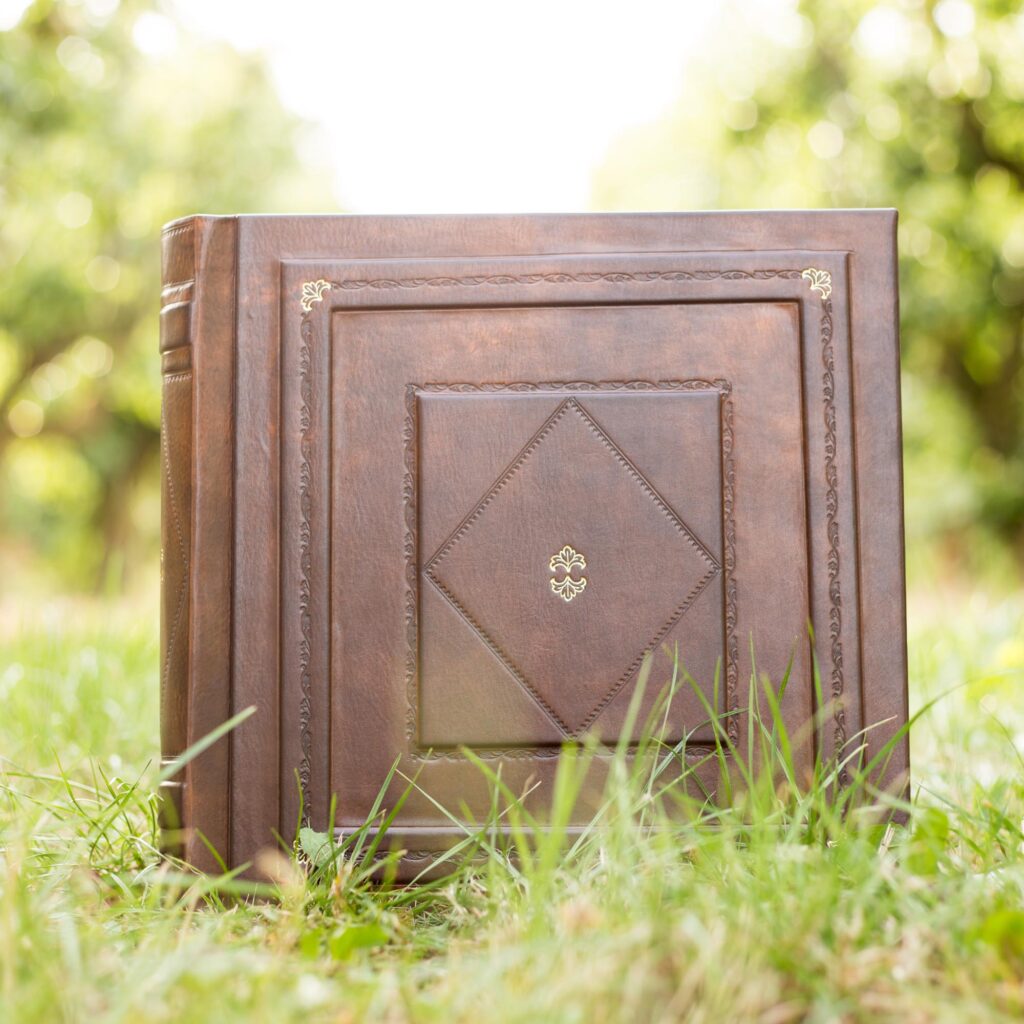
- The lay flat photo book. It’s precisely High Quality albums that we are offering that should last for decades.
How Can You Know if a Photo Album is Good Quality or Not? (Durability)
What Makes a Good Photo Album?
We believe a wedding album should not only be pleasant to look at and exciting to read, but should also be strongly built so it can fly through the ages like a time capsule. A strong album well-taking care of, should last forever and transmit to the next generations. You don’t want the colors to fade, the pages to fall, or the design to become ugly in the next decades.
Tips: Find here the things to look at when judging the quality of a photo-book
- Thickness and Type of Paper: This is probably the most important (regarding longevity). The best paper for the wedding album is the RC paper, which should not turn yellow in the future, and which resists scratches and water (you can clean a page, which is not the case with an inkjet paper for instance). The printing technology also offers high resolution and a wide range of colors.
- Type of Binding: Probably one of the less considered points, and though, one of the most important. Avoid cheap glue binding.
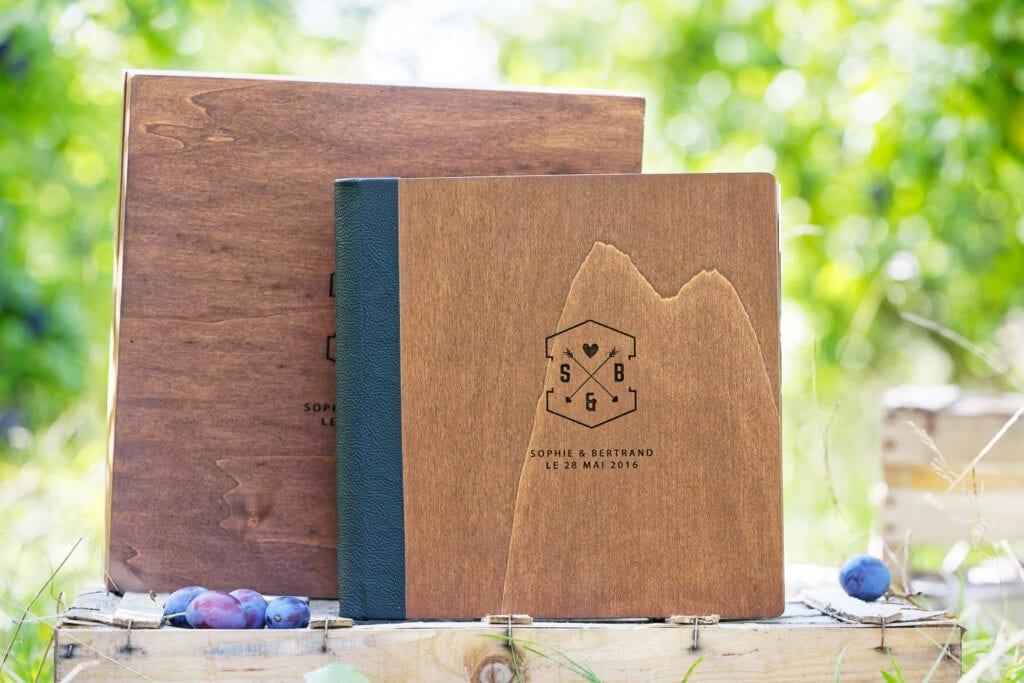
- Cover Material: Don’t we say that we judge a book by its cover? You want a nice material, a design that you like. Today, there are a variety of options: genuine leather, synthetic leather, wood, linen, velvet, plexiglass.
- Layouts: You need something simple, timeless that tells your family story.
- Options: This one is probably the most superficial point, pay attention to the little options such as engraving, embossing, gilding, and endpages.
Step by Step: How We Design the Perfect Template for a Layflat Photo Album
What should you consider when designing your own wedding album’s layout? Here is the step-by-step guide detailing the process we follow when designing image combinations.
1/ Culling and Number of Images
The first job, and probably one of the most difficult, is to select the files you will use.
As wedding photographers, we can choose the most aesthetic photos, but it remains the couple’s job to select the files that they want to use.
The culling can take quite some time. Keep only the cream of the crop. The lower number you have, the more dynamic the composition is.
2/ Retouching Some Digital
If needed, we enhance some portraits a bit, or take off elements distracting the viewer. Retouching might bring the price up.
3/ Color Harmonization
The idea is simple. Given we are not using any color preset and we manually retouch each photo, some can be a bit warmer or cooler, brighter or darker.
The harmonization part is to create a color harmony for the entire object.
4/ Gathering Elements of the Scene
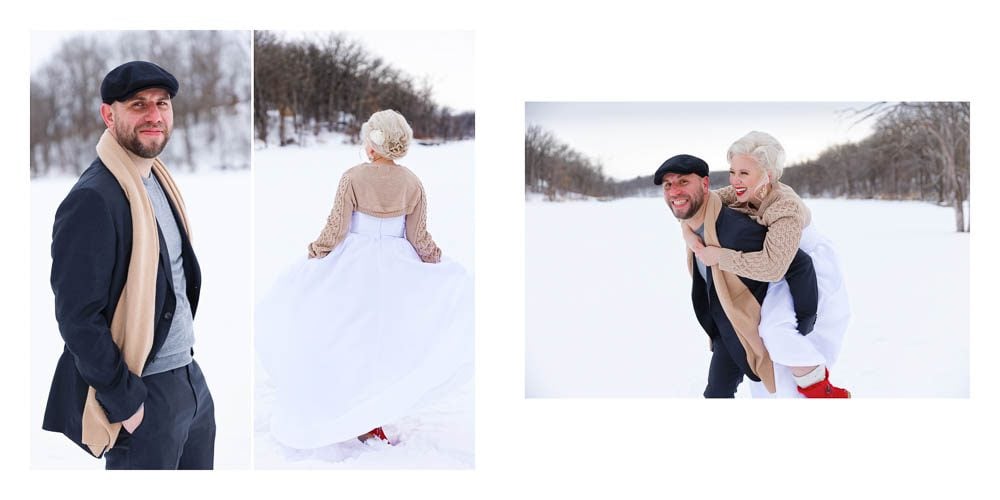
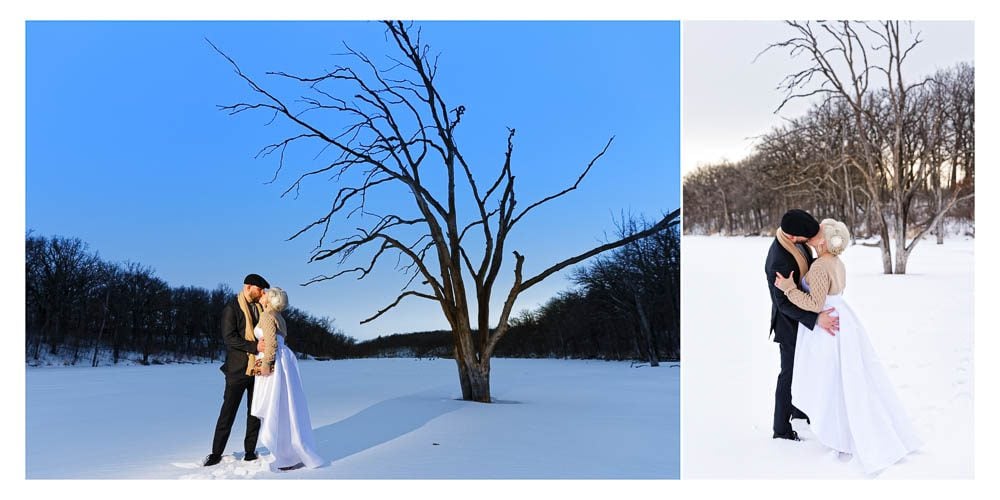
The next step is to gather by theme, files that will compose the spreads. We may not always follow chronological order. We try to include all the images within the same theme in one spread. Ideas come pretty naturally when we see the bride and groom selection.
5/ Avoid Any Important Element in the Crease
When we start arranging the digital on the spread, we avoid putting any face right on the crease. Indeed, even though it’s a lay flat album, we don’t think it looks pleasant to have even a thin line on a face.
6/ Choose a Display Style That Would Work for Your Parents’ Album
When the bride and groom ordered some parents albums, one extra step is to make sure that:
- none of the images would be an issue for parents. Any groomsmen doing something embarrassing you prefer to keep private?
- All the composition would work for an 8×8 inch size photo-book.
8/ Best Layout for Layflat Photo Albums
Quite similar to the editing process for a movie, the arrangement and composition of the photos on the page will create tension and a narrative. That’s the part when photography becomes more than just a keepsake and tells a “complex” story. That’s when we become storytellers.
For this step, we remain simple and elegant. We avoid any frilly effects or superficial decoration.
It’s during this process that we can decide, if needed, to crop an image.
To perform the compositions, we set up some images big, sometimes covering both pages.
9/ Send Clients Proofing
Once done, we send proofs to the couple for validation. They review each detail and send us corrections that we apply until satisfaction.
10/ Printing
Once the final version is ready and validated (it’s primordial for us that the newlywed couples are happy with the result), the digital files are exported in High Definition and the entire folder sent to the laboratory for printing. We use a professional lab to have a higher grade, but you don’t care about sharpness precision and color fidelity, you could use any lab you want such as: Artifact upRising, Mpix, Shutterfly, Mixbook.
Good to know: after printing and binding, the lab will slightly cut text blocks (all the pages with photos) to make it clean. As a result, the layout may slightly change on the edge (about 2%).
Classic vs. Modern Wedding Album Layouts
In the last 20 years (since the creation of the lay flat albums), thanks to Photoshop and other software, we have seen a ton of different styles for photo configuration.
Why We Chose a Timeless Style
Our mantra is to create a product that you enjoy in the future, which means something timeless, simple, elegant.
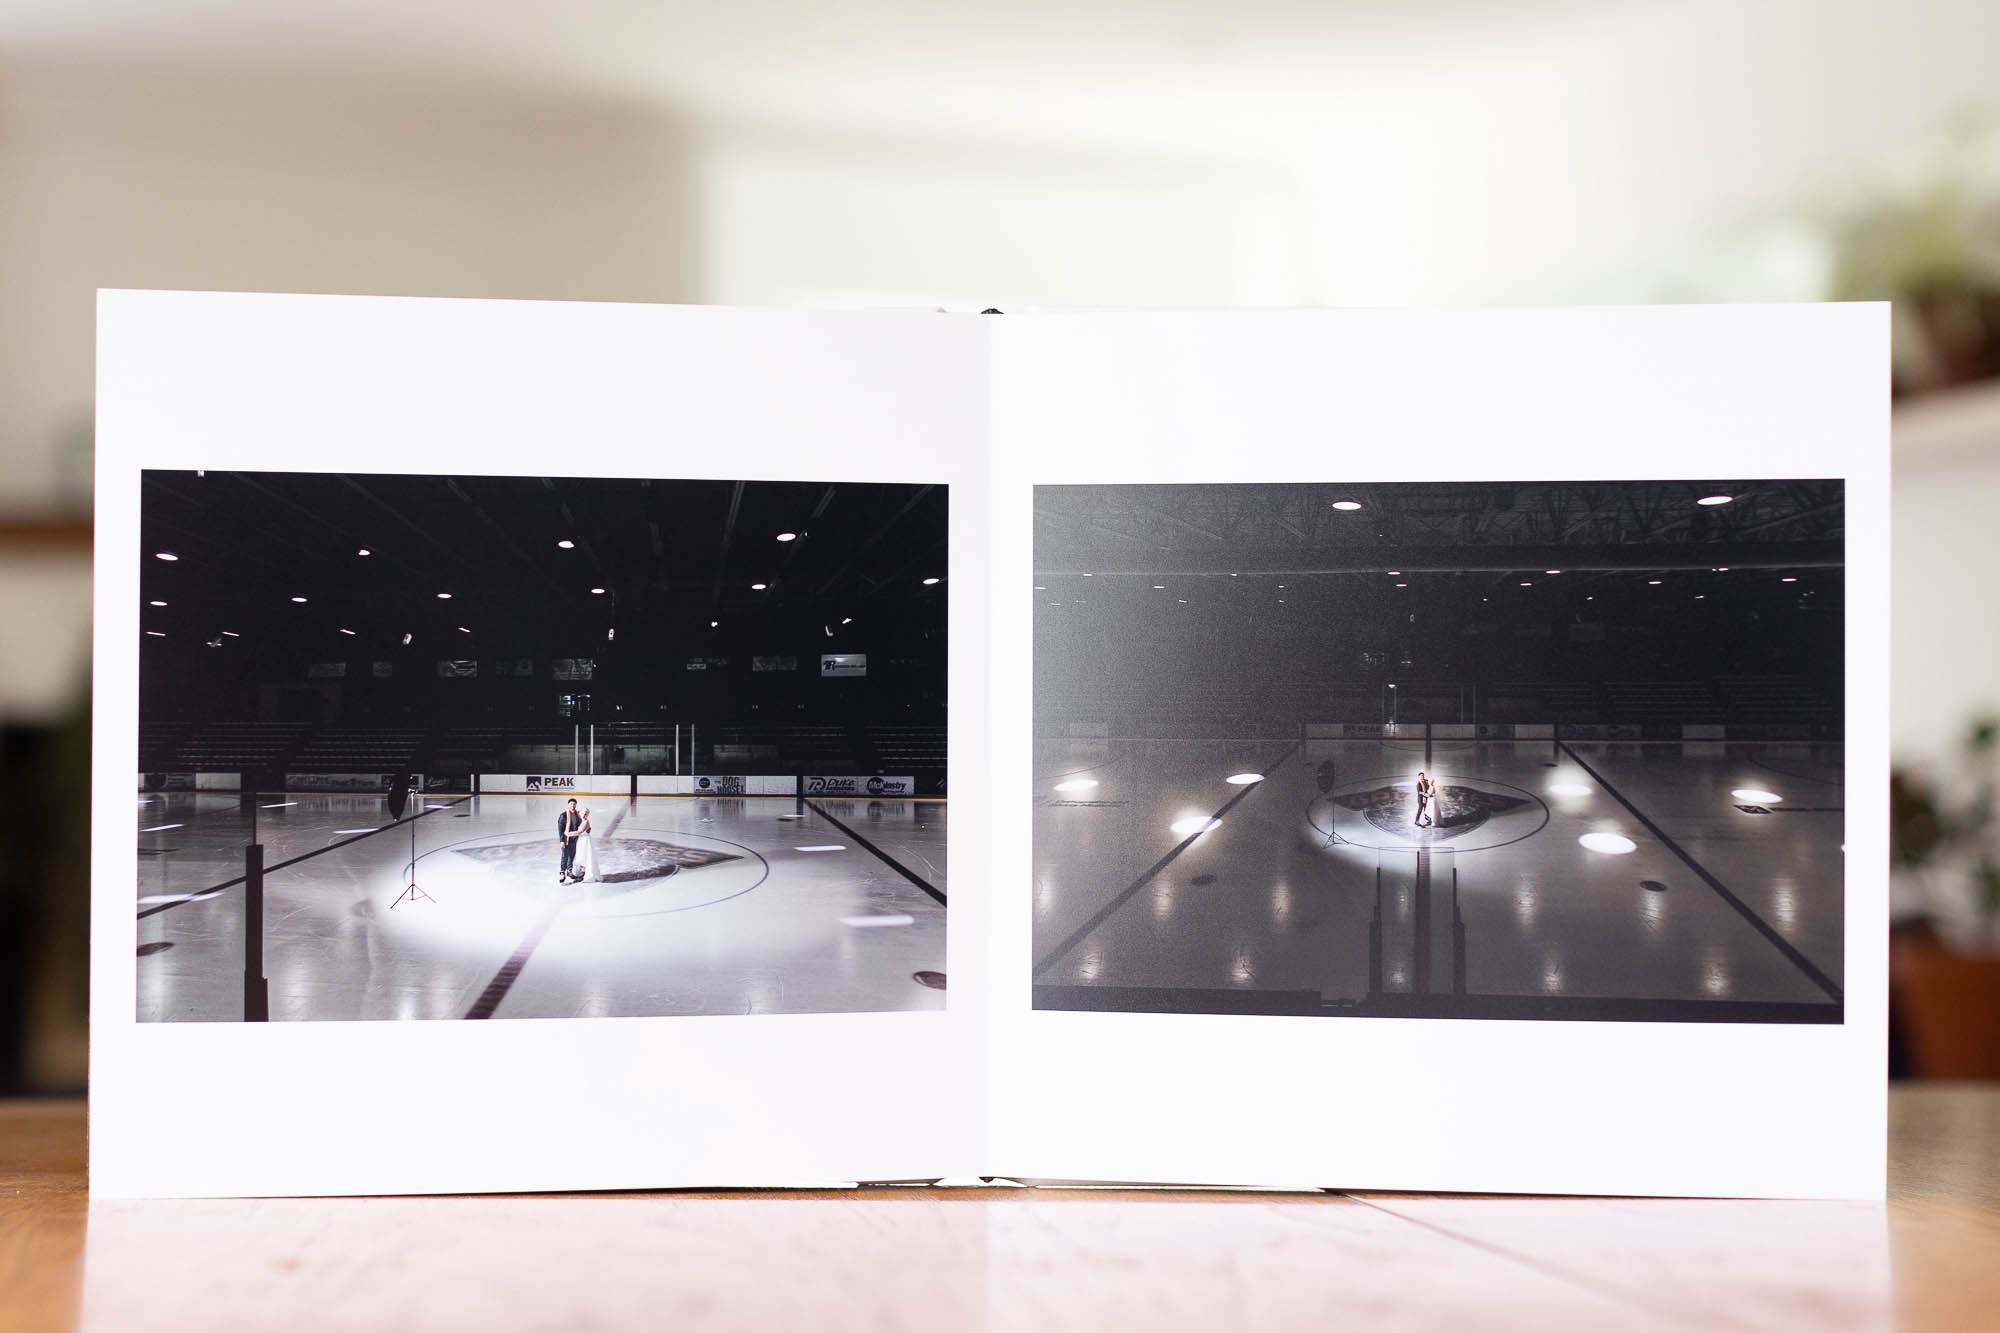
The fewer images you have, the more dynamic your album is. Below an example of an art book style album.


What Are Some Stylish Options for a Wedding Album Layout? And Why You Should Avoid Them.
Now, just for fun, we are going to list all the worst styles created in the last 20 years or that should not be used for a wedding album.
- Collage: multiple photographs, arranged creatively, with different sizes and orientations
- Black and White with a Touch of Color: The entire spread in black and white except the bride’s flower in color
- Photoshop: The entire game of effects offered by Photoshop to “enhance” the look of an image: drop shadow, bevel and emboss, inner/outer glow, stroke, etc.
- Storybook: A mix of full-page photos and smaller detail shots
- Magazine: A mix of full-page larger typo, lines, colors to create a fun look
- Mixed-media: Mixing photos, illustrations
- Texture: Using some texture on the bottom layer, or over the photos
- Vintage: Using sepia, ornate borders, vintage fonts
- Geometric: Image frames in all different forms: round, square, triangle, diamond
All those effects are like Lightroom filters: they are trendy today, but you can be sure they are going to be ugly pretty soon.
Other Considerations
How Much Time Does It Take to Design a Perfect Wedding Album Composition?
Designing beautiful books can be pretty time consuming. With the good tool, the right adjustable templates, an experienced photographer will take 3 to 4 hours to design books.
That is one reason why photo-books are expensive.
On top of that, the discussion with the couple would probably add 2 hours (if everything goes smoothly). What are the best templates for a wedding photo book?
We don’t recommend choosing a fixed template that doesn’t adapt to each image. Instead, use some template that you can adjust on a case-by-case basis.
Can You Recommend a Professional Wedding Album Design Service?
As a photographer, that’s a step we are used to handling, and would be happy to provide our expertise.
Which Tools Do You Recommend?
If you are looking for software, here is a short list:
- ClickAlbums
- Affinity Publisher
- Smart Album
- Fundy Designer
- LumaPix FotoFusion
- Album Express
Conclusion
Once the questions of durability of the album and cover are solved, comes an important question: how to present photos together.
Creating the perfect arrangement of photos on each spread is complex work that cannot be improved. There are several steps to respect in order to create the perfect album that will hold all the best moments of the bride and groom’s big day.
Keeping a minimalistic and classic approach with neutral white backdrop is the safest method for a timeless and elegant result.